
Twilio Channel
The Twilio channel can process incoming SMS and WhatsApp messages to your phone numbers as tickets, as well as answer phone calls as they come in.
Activate or Deactivate Channel
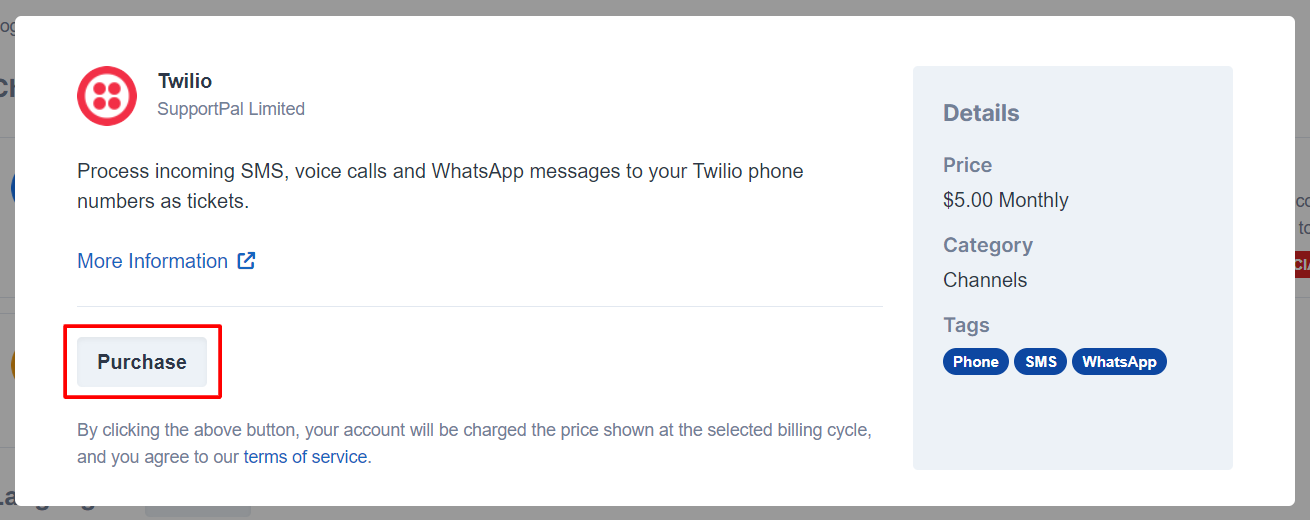
The Twilio channel must be purchased from the marketplace before it can be used. To do this, go to Add-ons, click "Login" (if not currently logged in), follow the login steps, and then find the Twilio channel add-on, and click the "Purchase" button. The system will try to automatically take payment from your account and then install and activate the add-on if successful, or you may need to log in to your client area account to pay the invoice before the add-on may be installed.
The channel can be deactivated by going to Add-ons -> Channels, and clicking the "Deactivate" link on the Twilio channel row.
Creating an Account
Prerequisites
Before proceeding any further with this guide, please ensure you meet the following prerequisites:
- Activate and configure the Twilio Integration.
- SSL (HTTPS) enabled on your installation.
SupportPal Setup
To configure a Twilio channel account in SupportPal:- Visit Add-ons -> Channels in SupportPal and click on the "Settings" link on the Twilio channel row. If you're creating a new account click "Add Account", or if you're updating an existing account, search for it and click the edit (pencil) icon on the right side of the table row.
-
Complete the input fields:
- Brand - Select the brand which the account belongs to. If the help desk only has one brand, this field will not be visible.
- Name - Enter a friendly name to identify the channel account.
- Active - Tickets will not be created when accounts are marked as inactive.
-
Service
- SMS - Jump ahead to Configuring SMS to learn how to fill out this section of the form.
- Voice - Jump ahead to Configuring Voice to learn how to fill out this section of the form.
- WhatsApp - Jump ahead to Configuring WhatsApp to learn how to fill out this section of the form.
- Default Department - Select the department in which incoming calls or messages to this account should be opened as tickets in.
- Default Priority - Select the priority with which tickets opened by this account are set as.
- Click the "Submit" button to finish.
Configuring SMS
To set up an account with the SMS service:
- Log in to the Twilio account used when configuring the Twilio Integration.
-
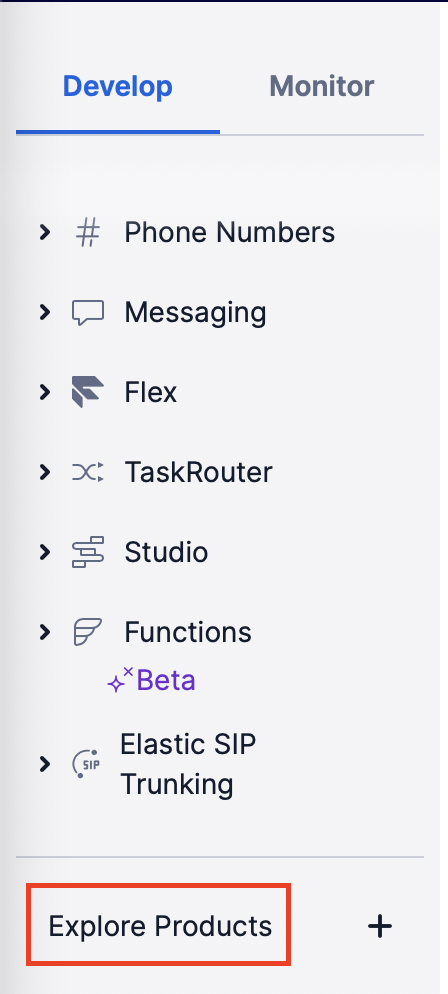
Click "Explore Products" in the Console (dashboard) sidebar.
-
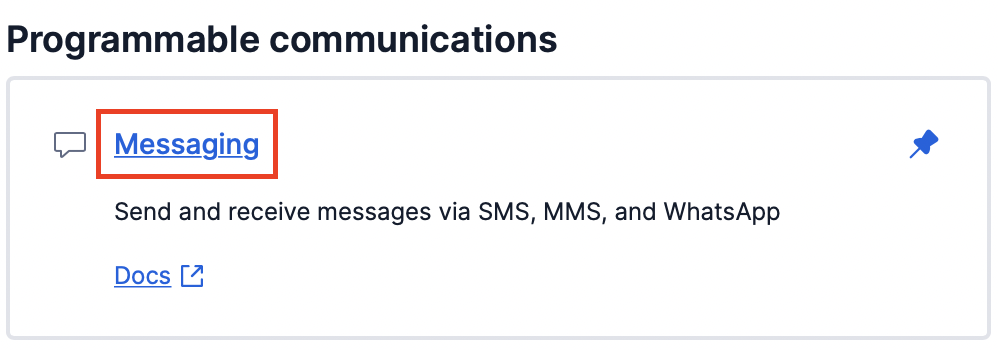
Under Programmable communications, select "Messaging".
-
Select "Services" in the sidebar.
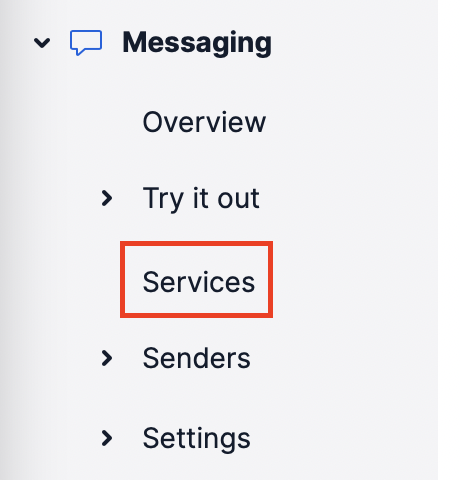
-
Click the "Create Messaging Service" button.

-
Enter a name for the messaging service, for example "supportpal", and click "Create Messaging Service".
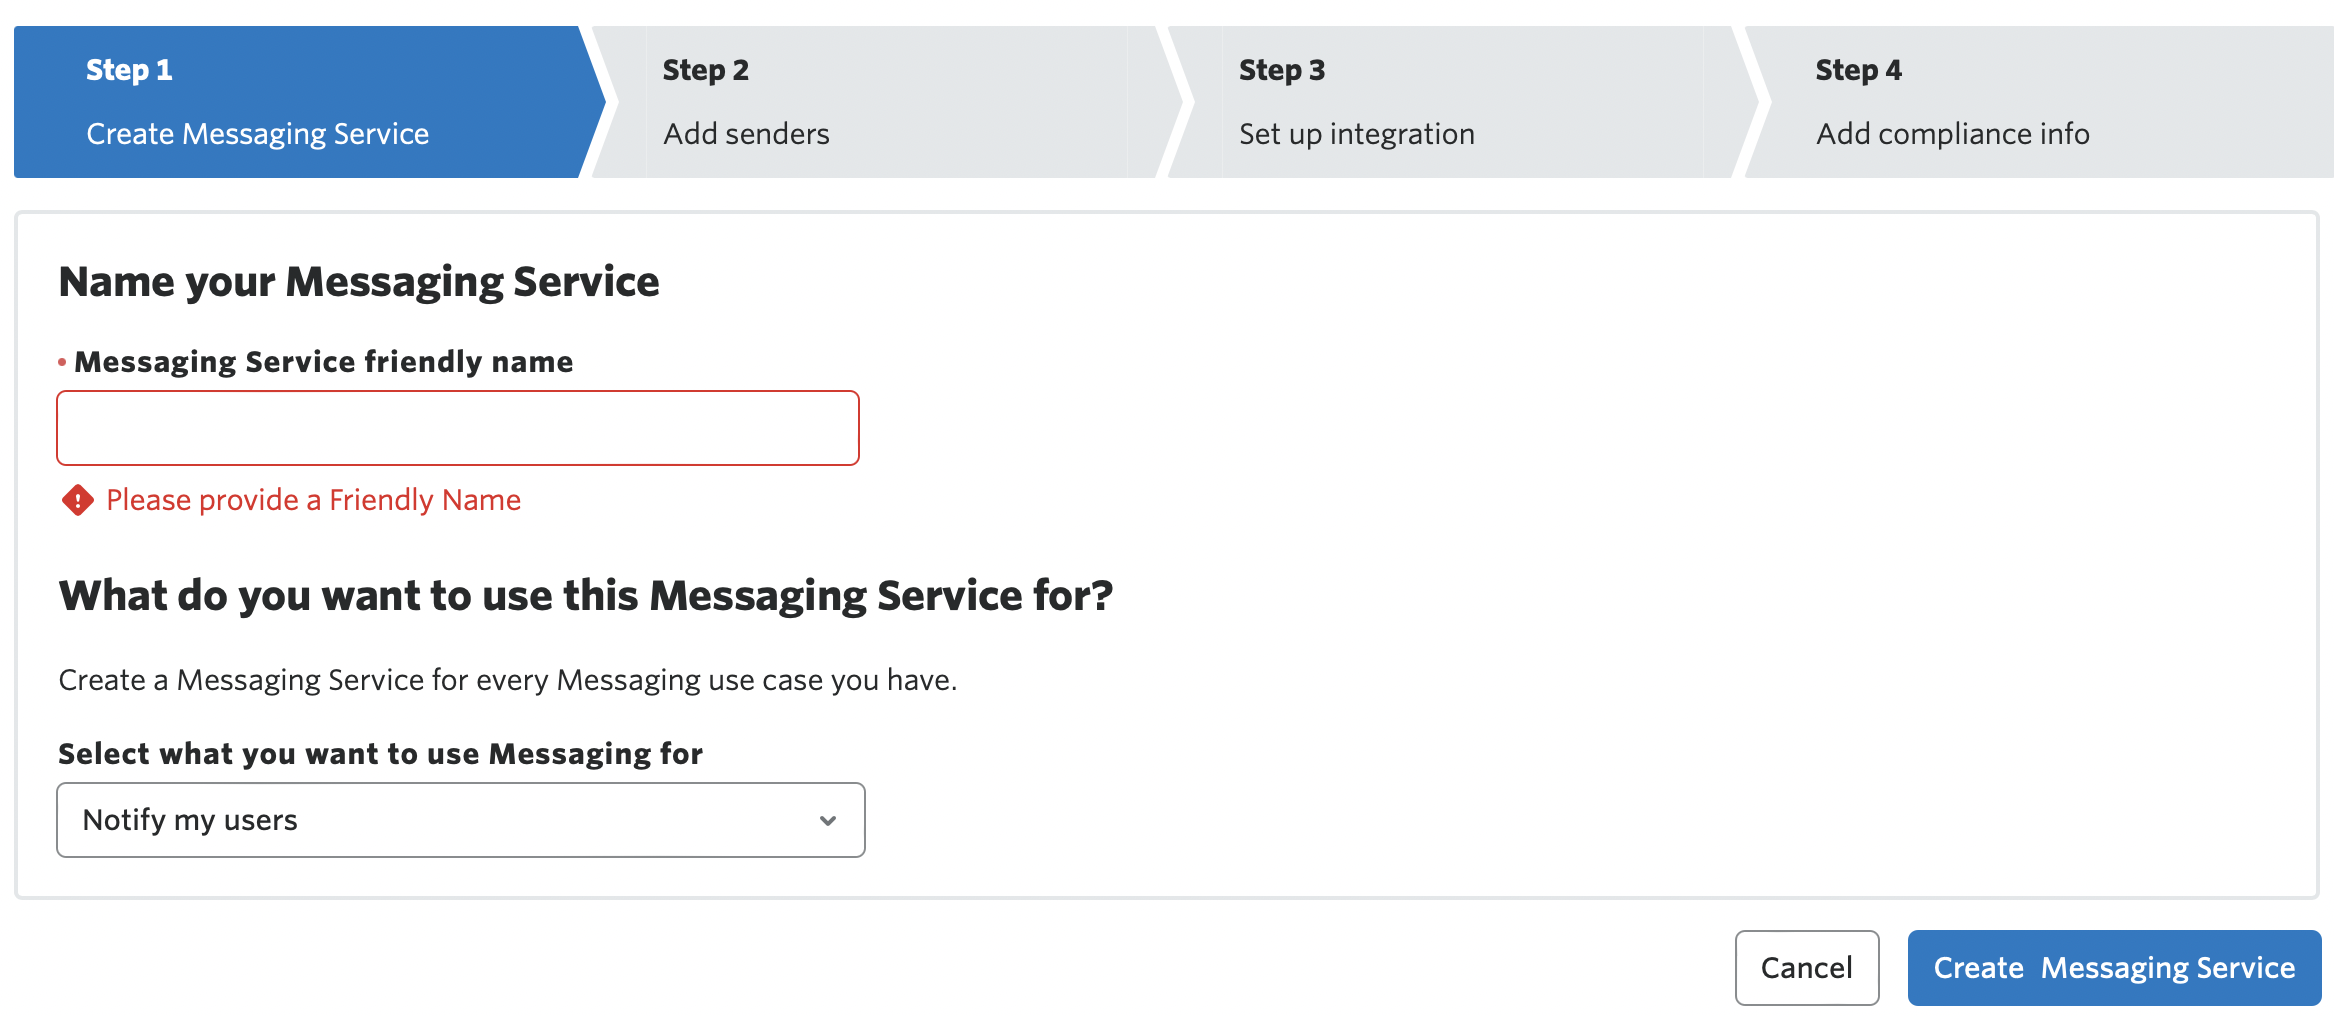
-
Click "Add Senders", leave the sender type as "Phone Number" and then continue. Here it is necessary to purchase
a Twilio phone number, ensure to select a number with Voice and SMS capabilities at a minimum. Continue to step 3.
-
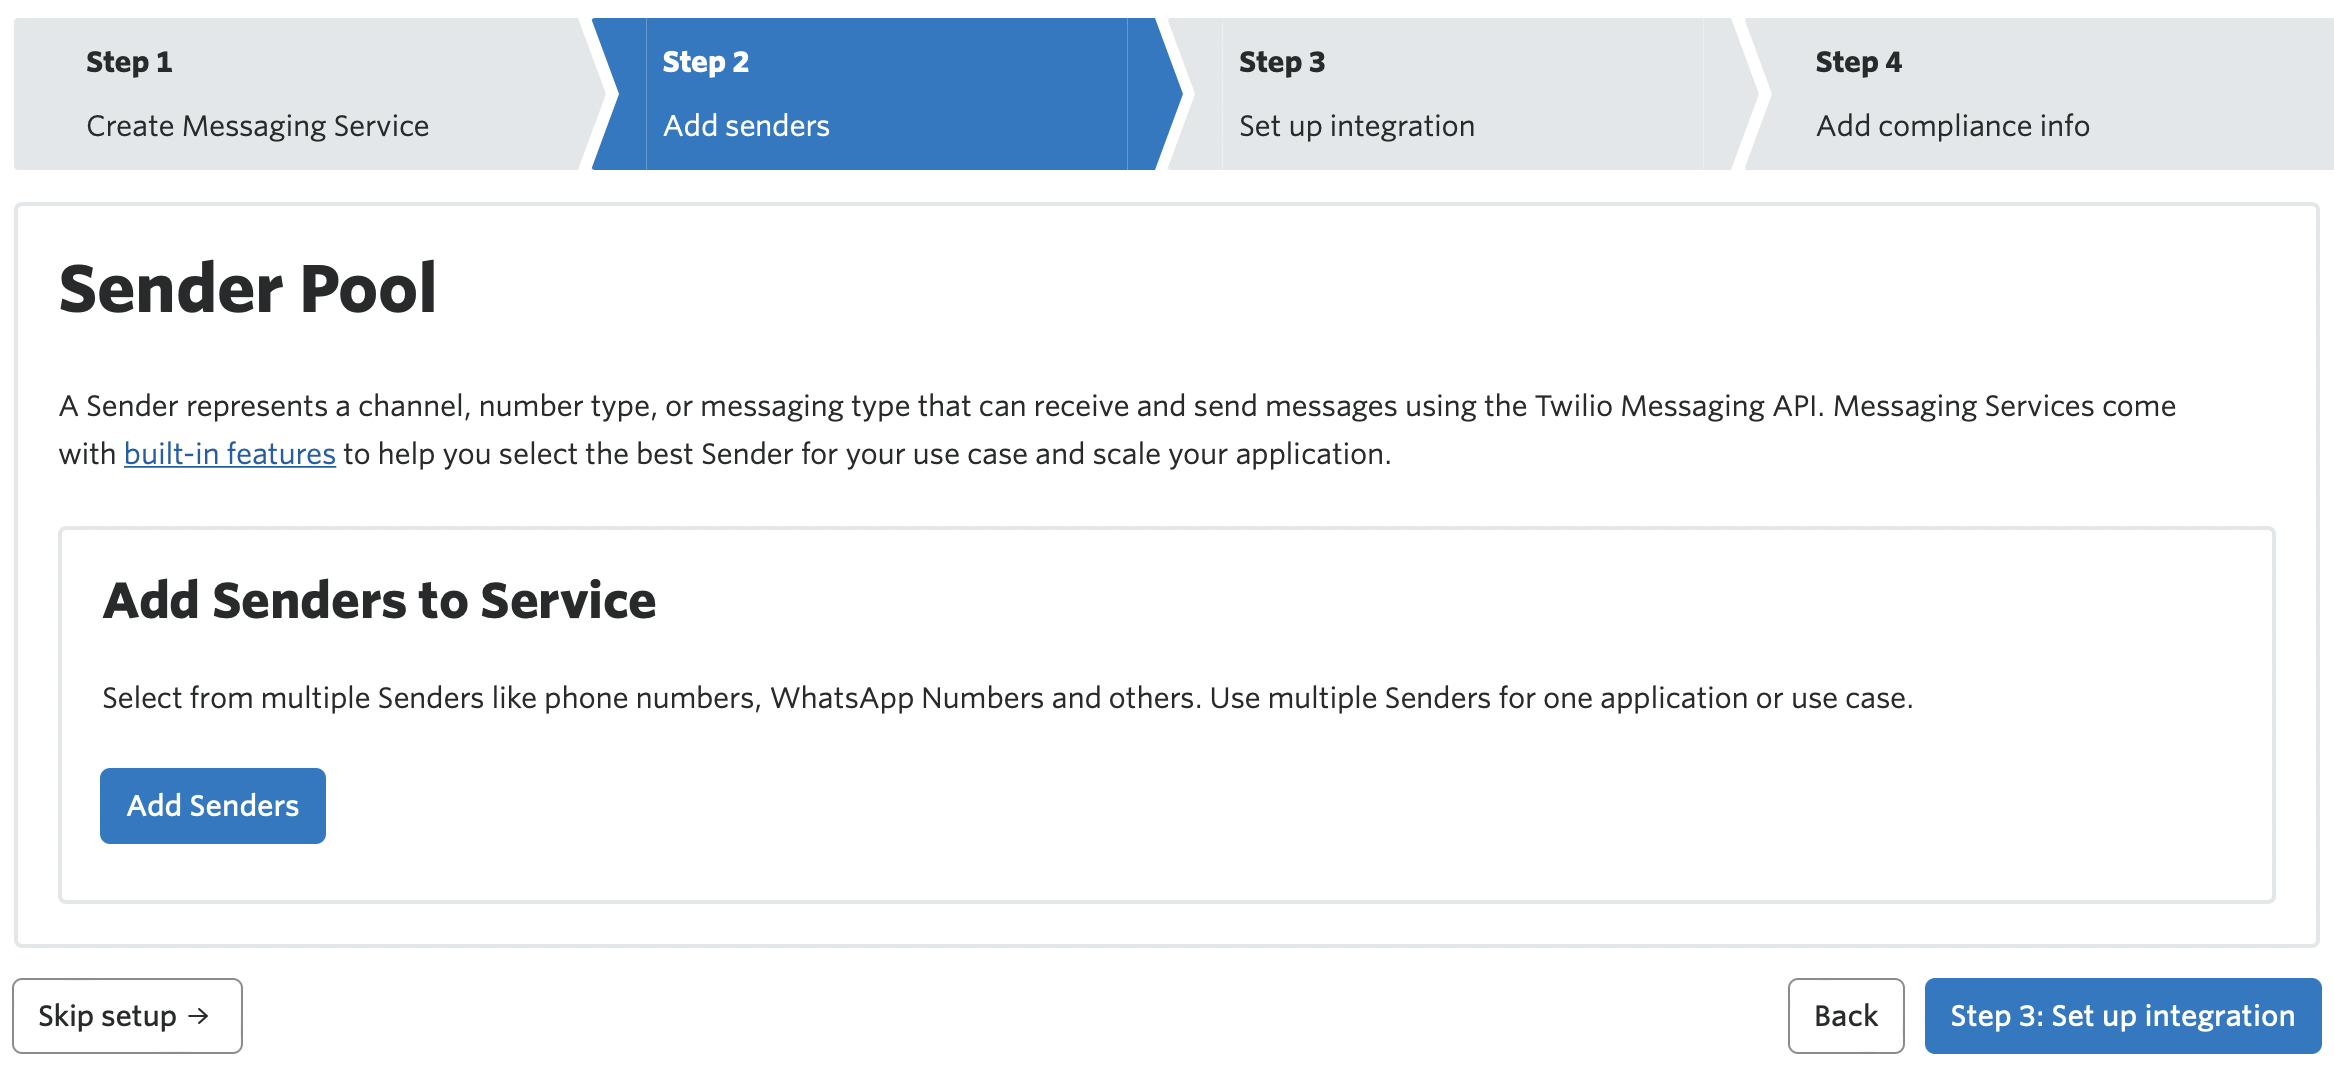
Create an integration webhook.
- Select "Send a webhook".
- Copy the URL shown in the SupportPal channel account settings into the Request URL and Fallback URL.
- Select "HTTP POST" for both.
- Click "Complete Messaging Service Setup" to complete the configuration.
- Enter the "Messaging Service SID" value into the "Messaging SID" text field in the SupportPal channel account settings.
Configuring Voice
To set up an account with the Voice service:
- Log in to the Twilio account used when configuring the Twilio Integration.
-
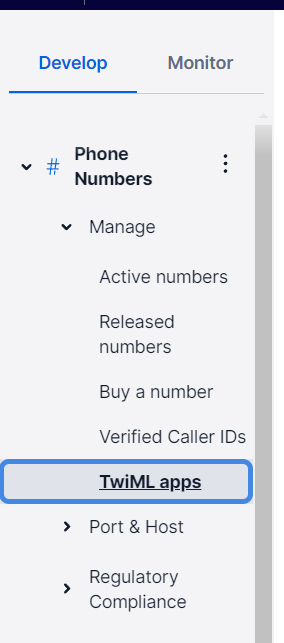
Click "Phone Numbers" in the Console (dashboard) sidebar, then "Manage" and then "TwiML apps".
-
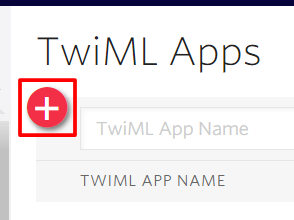
Click the "+" icon.
-
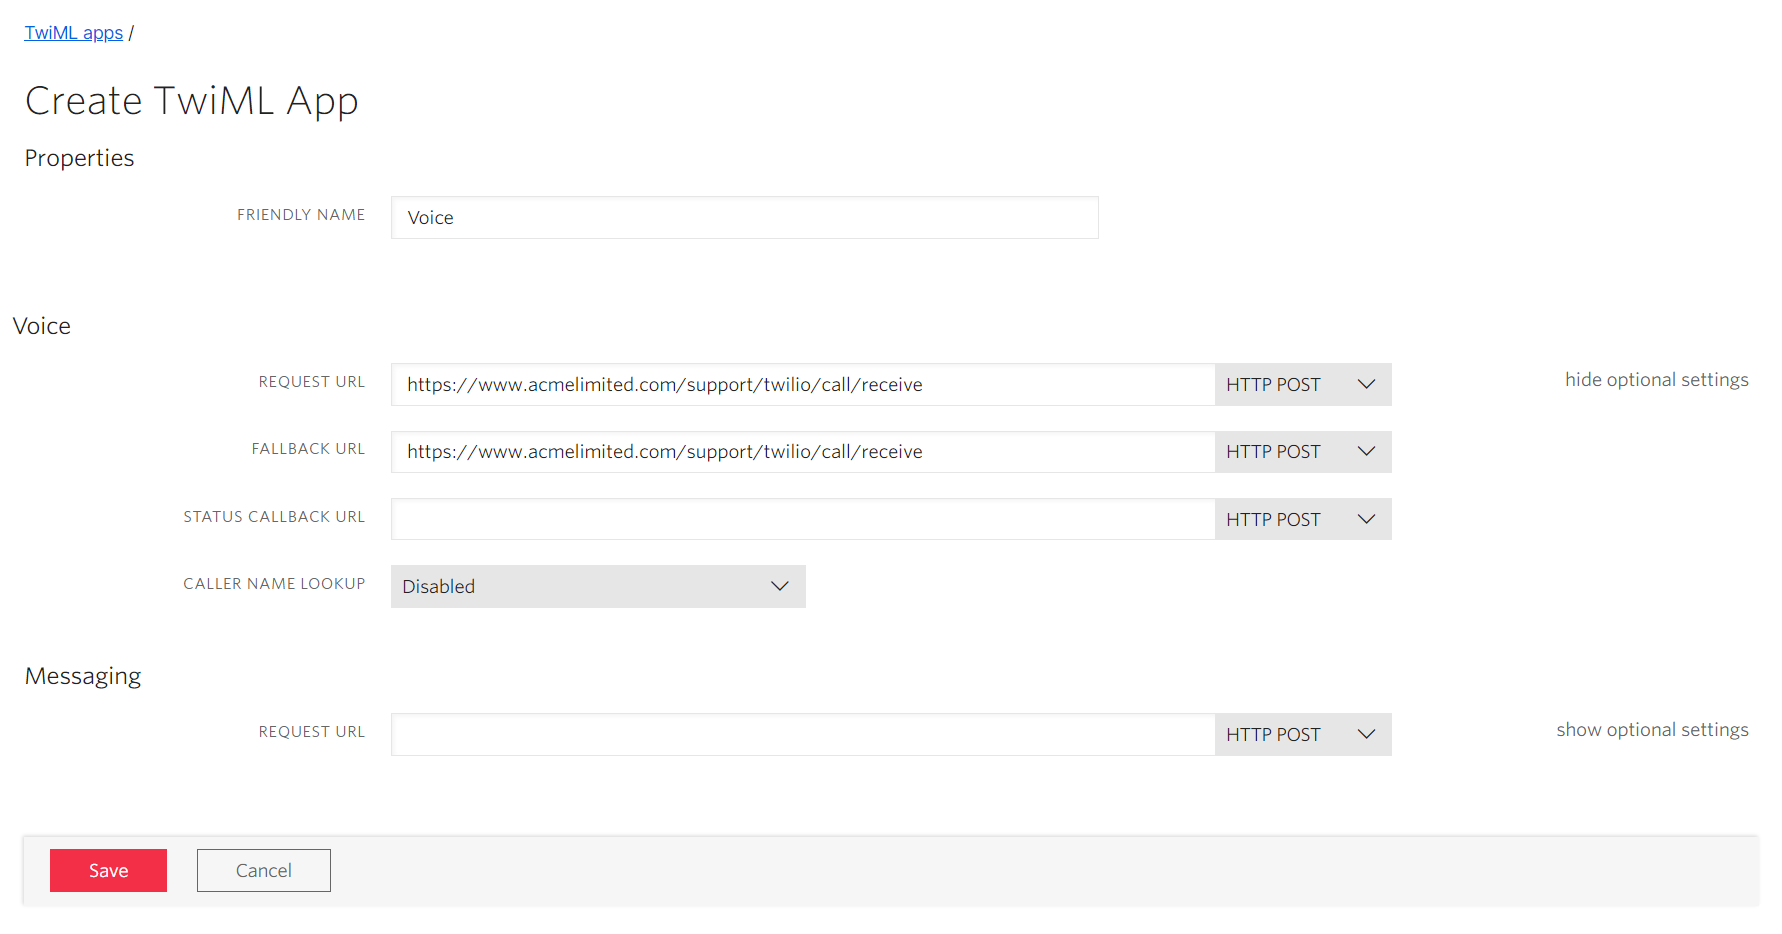
Set a name for the app, and then click "show optional settings" for Voice. Copy the URL shown in the SupportPal channel account settings into the Request URL and Fallback URL. Click "Save".
-
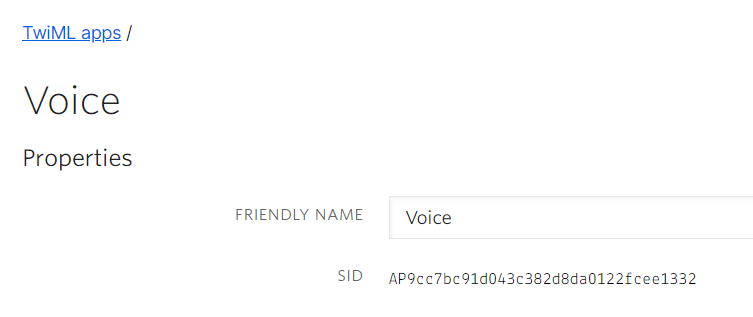
The TwiML Apps page will load again, click on your new app to get the TwiML app SID.
-
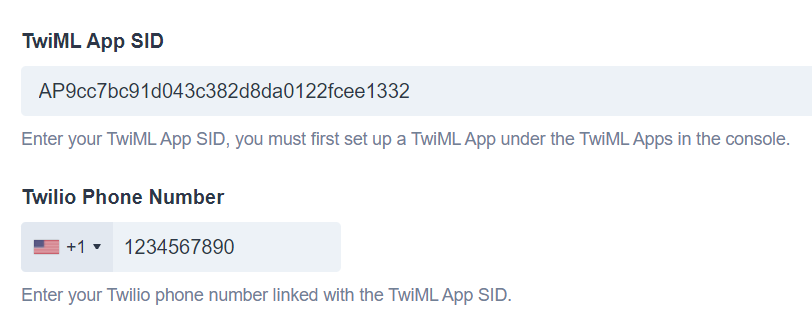
Enter the SID into the "TwiML App SID" text field in the SupportPal channel account settings and also enter the Twilio phone number below it.
-
Go to the "Active Numbers" page in Twilio under "Phone Numbers".

-
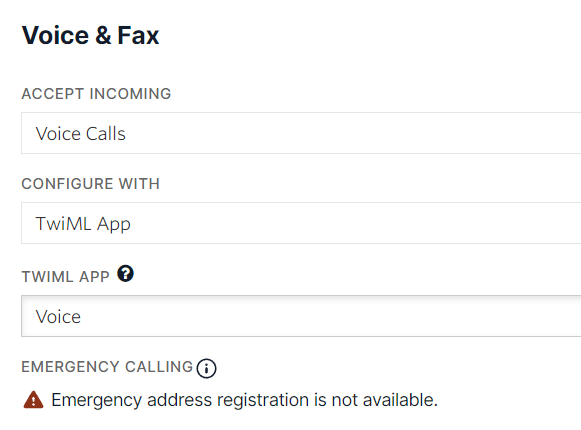
Click on the relevant phone number, scroll down to the "Voice & Fax" section and set the "Configure With" to "TwiML App" and then select the app that you just created. Save the settings.
Configuring WhatsApp
To set up an account with the WhatsApp service:
- Log in to the Twilio account used when configuring the Twilio Integration.
-
Click "Explore Products" in the Console (dashboard) sidebar.
-
Under Programmable communications, select "Messaging".
-
Select "Services" in the sidebar.
-
Click the "Create Messaging Service" button.
-
Enter a name for the messaging service, for example "supportpal", and click "Create Messaging Service".
-
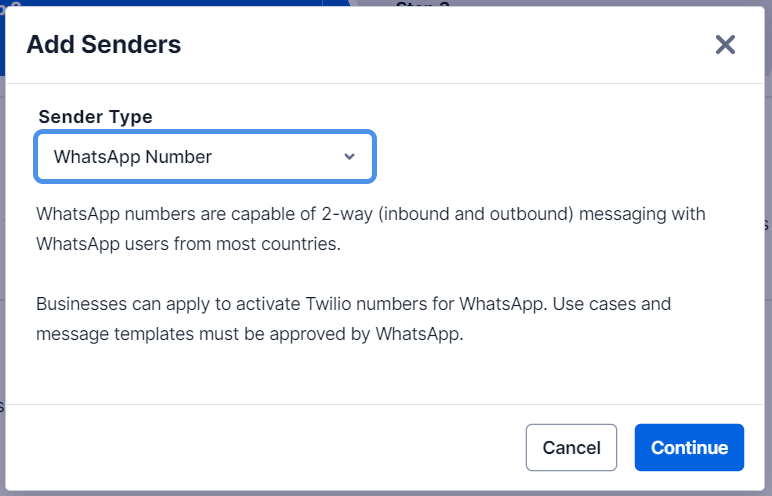
Click "Add Senders" and then select "WhatsApp Number" as your sender type, select the number that you want to add to this service. Continue to step 3.
-
Create an integration webhook.
- Select "Send a webhook".
- Copy the URL shown in the SupportPal channel account settings into the Request URL and Fallback URL.
- Select "HTTP POST" for both.
- Click "Complete Messaging Service Setup" to complete the configuration.
- Enter the phone number in the "Twilio WhatsApp Business Phone Number" text field in the SupportPal channel account settings.
Delete an Account
To delete an account, follow the below steps:
- Visit Add-ons -> Channels and click on the "Settings" link on the Twilio channel row.
- Search for the account you wish to delete.
- Click the delete (cross) icon located on the right of the table.
- Click on the left button ("Yes, I'm sure") that pops up confirming you would like to delete this account, and it will then be deleted.
Handling Incoming Phone Calls
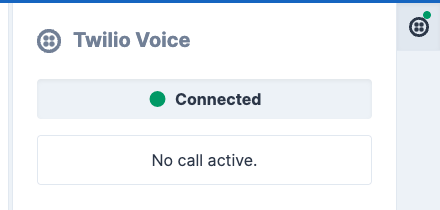
Once you have successfully configured a voice account in the Twilio channel settings, you will see a panel in the context sidebar (right-hand side) in the operator panel. Clicking the Twilio icon opens the panel. The panel button shows a green (connected) or red (disconnected) status indicator, making it easier to see the status while the panel is closed.
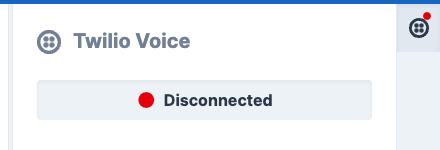
Connecting and Disconnecting
To listen for and answer calls, you must first connect by clicking the round red button. Once connected, you will see a message that there is no active call. You will remain connected when navigating to another page or refreshing.
To disconnect, click the round green button.
Answering Calls
When there is an incoming call, it will show the phone number/user making the call and the option to answer or reject.
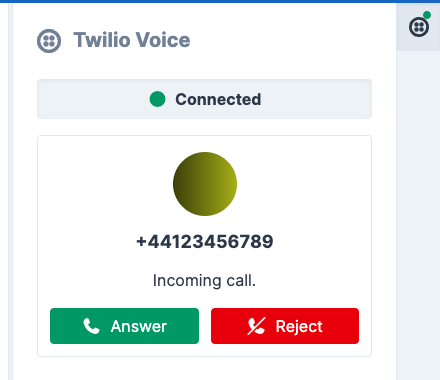
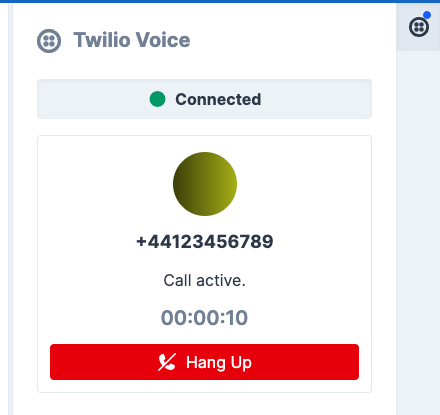
Clicking the answer button starts the call, and you can speak into your microphone to talk to the user. The call can be ended by using the hang-up button, or when the user hangs up on their end.
If no operator answers a call, or the call is rejected, the system will ask the user to leave a message, which is then opened as a ticket.
Troubleshooting
Use of HTTPS is required in order to access the microphone
Your system must have SSL enabled in order to answer calls.
No microphone found
You must have a microphone connected to your system to connect.
Microphone could not be used.
Permission may not be granted to use the microphone.