
Third-Party Integrations: Microsoft
The Microsoft integration can be used to allow using OAuth authentication for IMAP (department email accounts) and SMTP (outgoing emails).
Prerequisites
To set up Microsoft, you must have access to Microsoft Entra ID. It is included if you have a Microsoft 365 subscription.
Activate or Deactivate Integration
The Microsoft integration is disabled by default and needs to be activated before use.
- Visit Settings -> General -> Third-Party Integrations.
- Find the Microsoft integration and click the "Activate" link located on the left of the table.
- The page will reload confirming the integration has been activated.
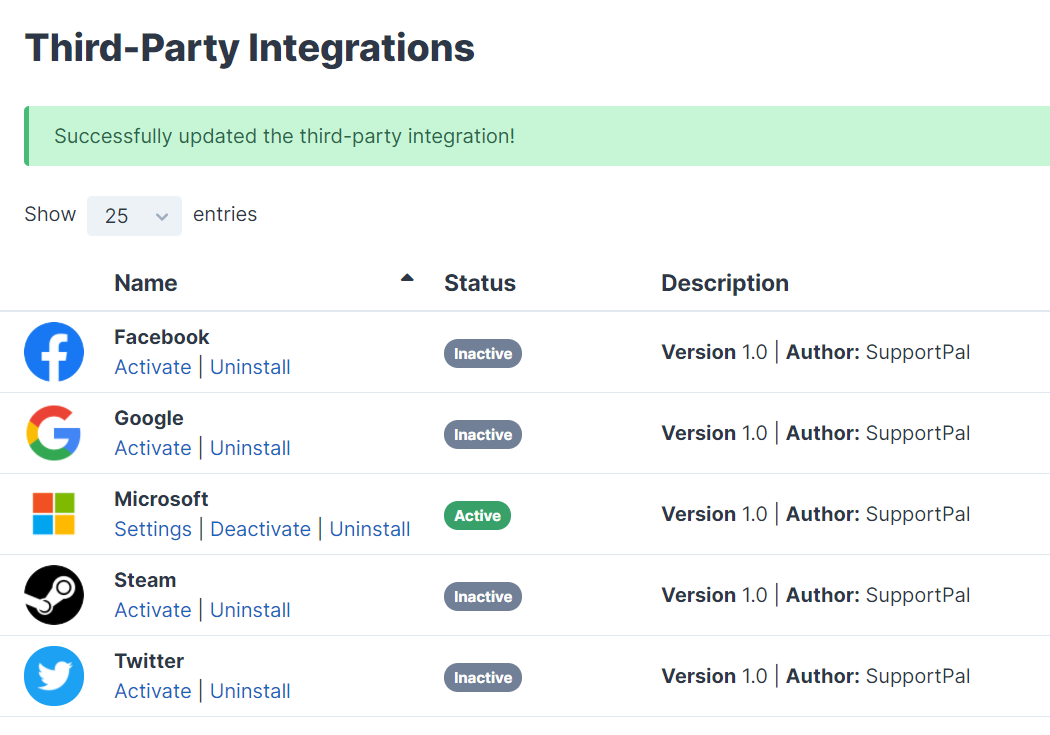
The integration can be deactivated by following the above process, but using the "Deactivate" link instead.
Integration Settings
To set up Microsoft, follow the steps below.
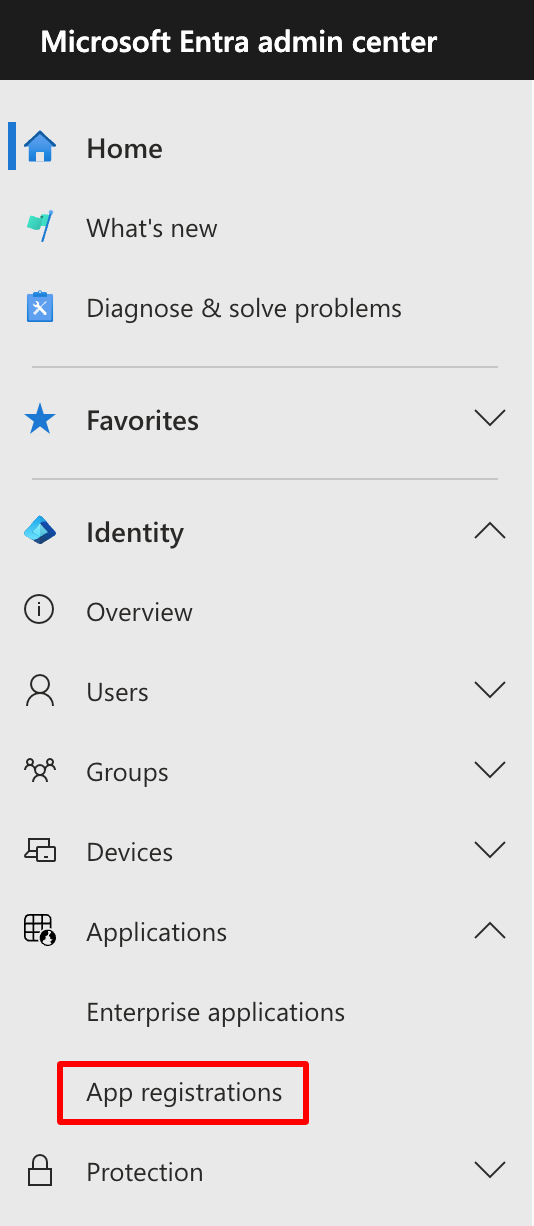
- Visit the Microsoft Entra admin center - https://entra.microsoft.com - and sign in to your Microsoft account.
-
In the sidebar, under "Identity", click on "Applications", and then "App registrations".
-
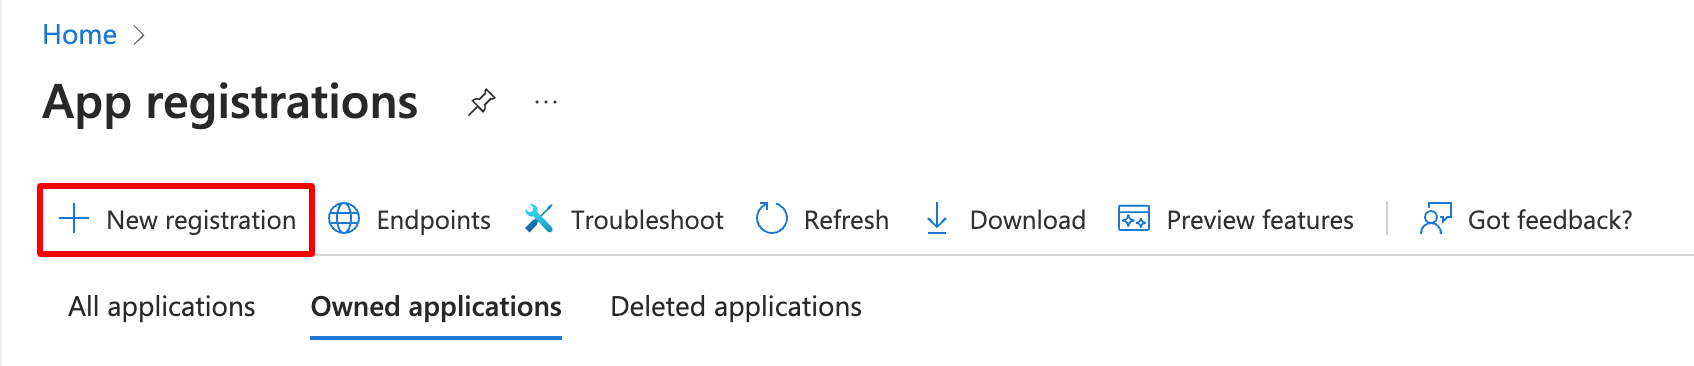
Click on "New registration".
-
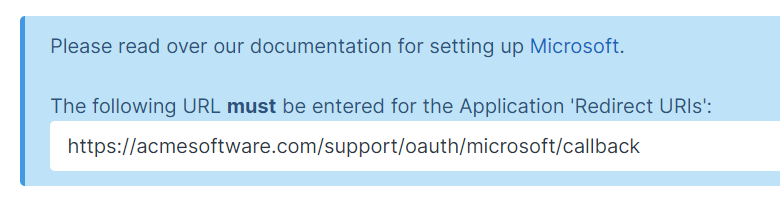
In SupportPal, click on "Settings" under Microsoft on the third-party integrations page. This page will show you the required redirect URI needed.

-
Enter a name for your application, select "Accounts in any organisational directory (Any Microsoft Entra ID tenant - Multitenant) and personal Microsoft accounts (e.g. Skype, Xbox)" for supported account types, and fill in the redirect URI with what is shown in SupportPal. Select "Web" in the platform dropdown, and click "Register".
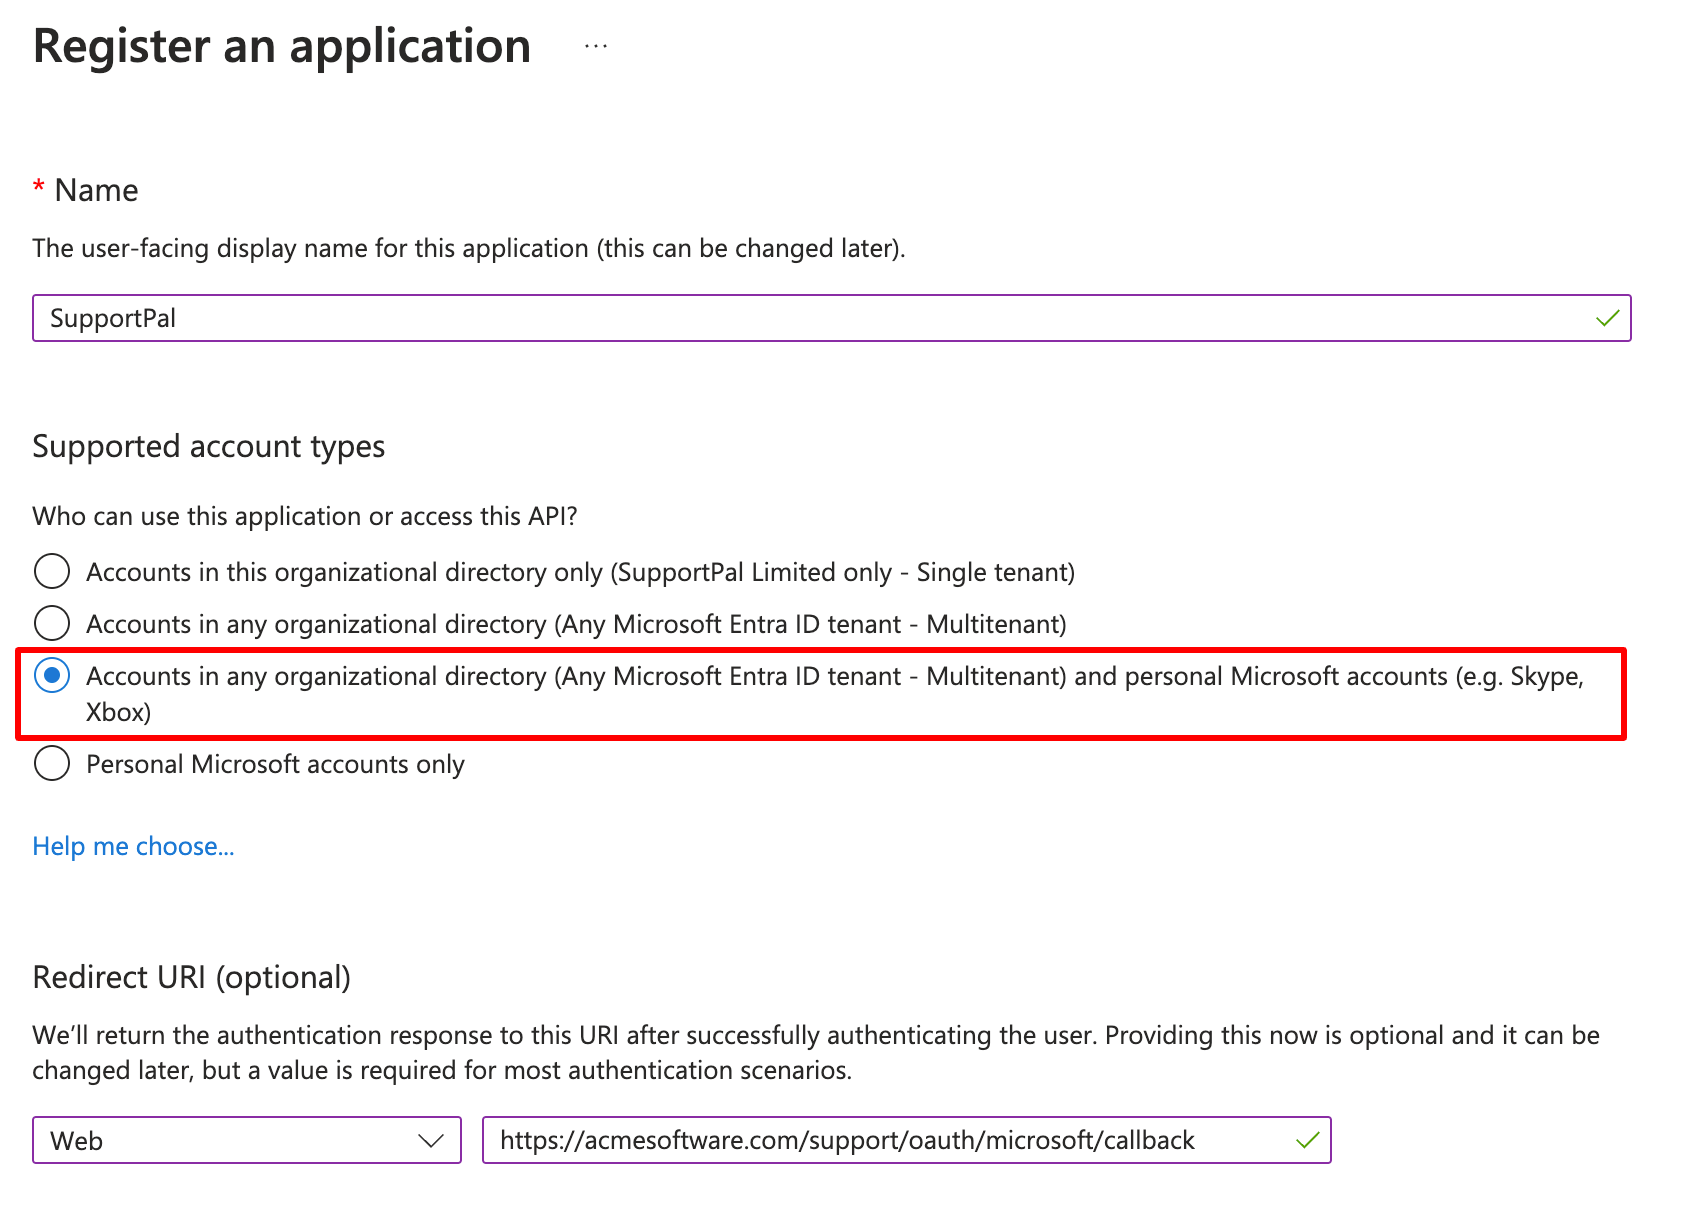 If your Microsoft 365 environment cannot be configured as a multitenant application, you can leave it set to single tenant and will need to set the Tenant ID option in the integration settings. This ID can be found in the Microsoft Entra Identity overview or the app registration details.
 -
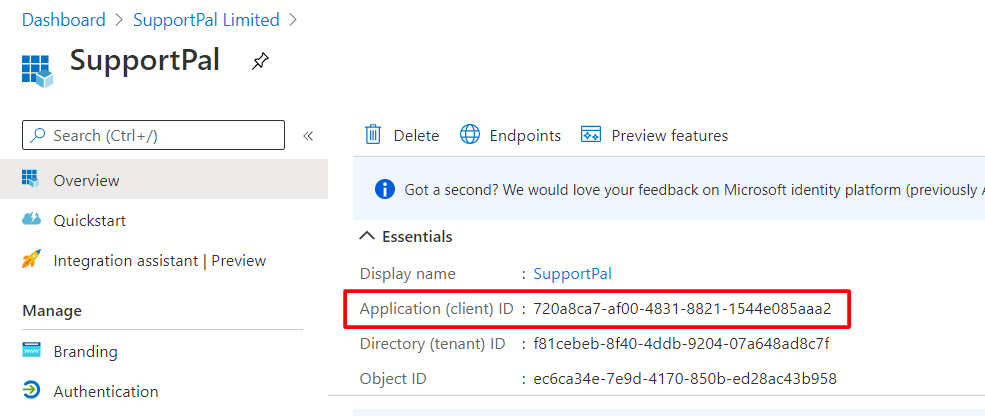
Your app will now be registered, the application (client) ID is what you'll need to enter in to SupportPal later.
-
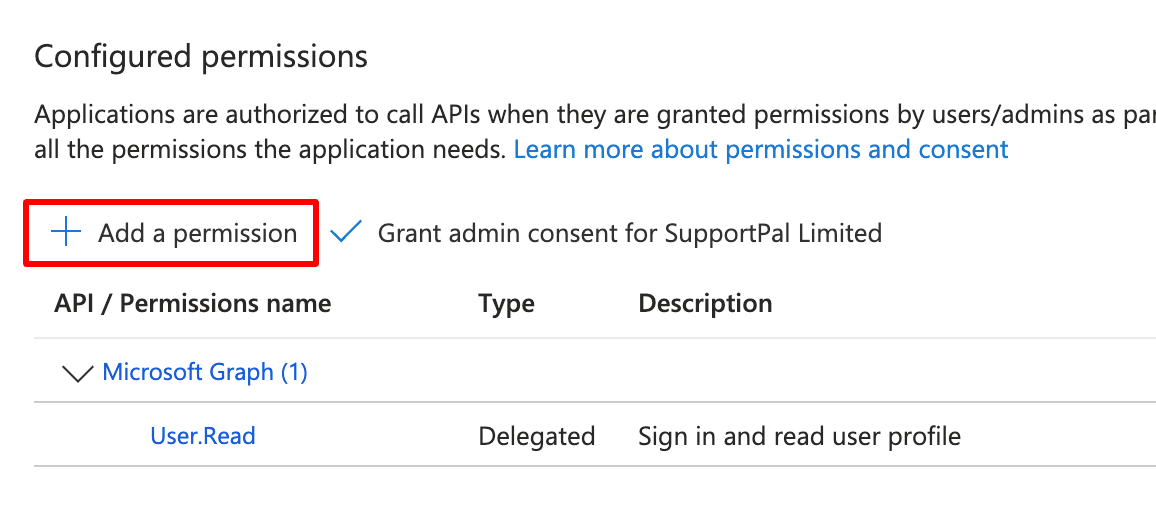
Now, under "Manage", click on "API permissions", and then on "Add a permission".

-
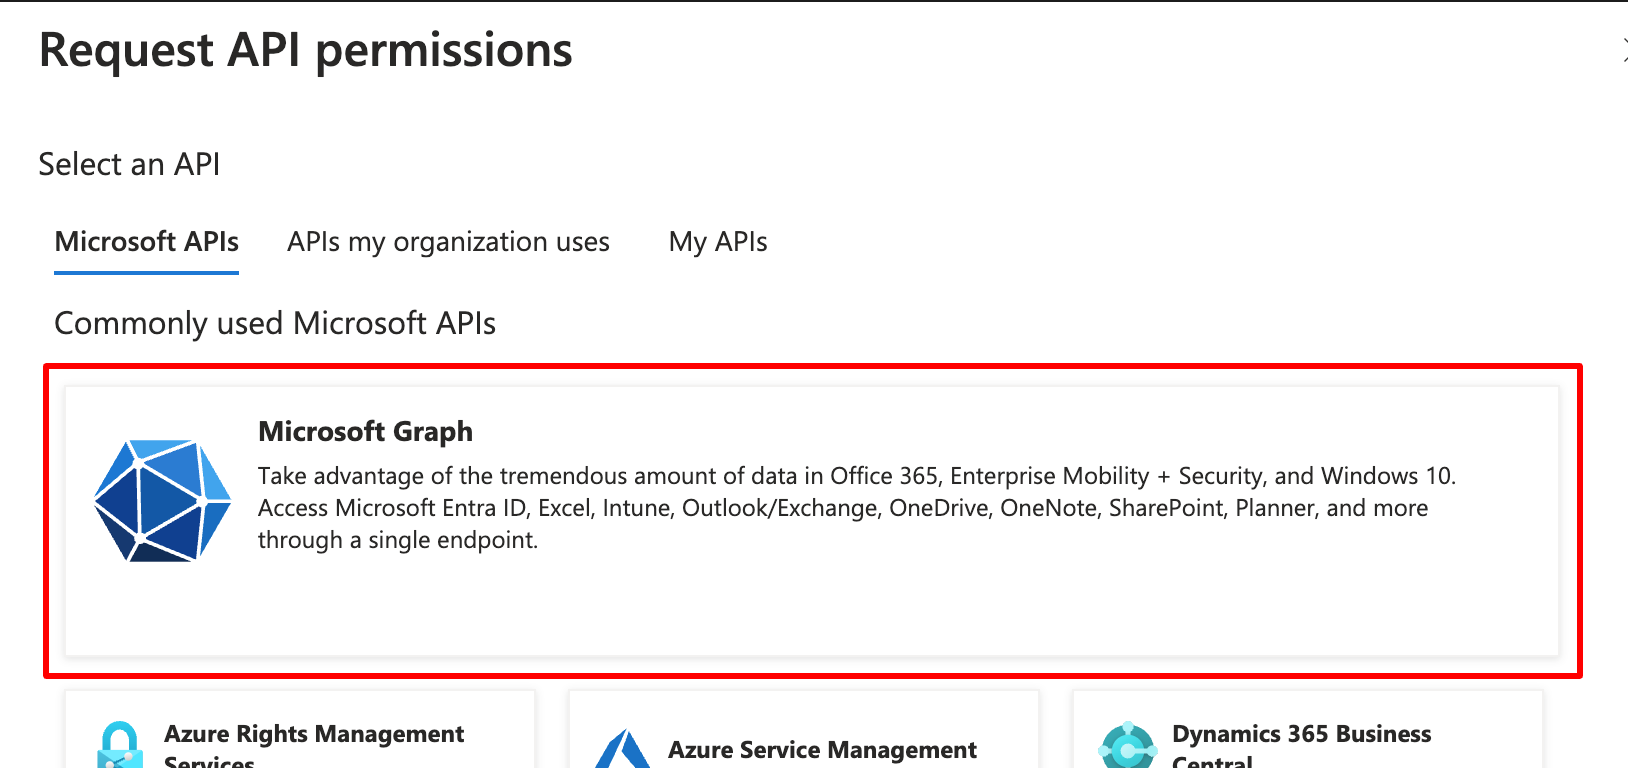
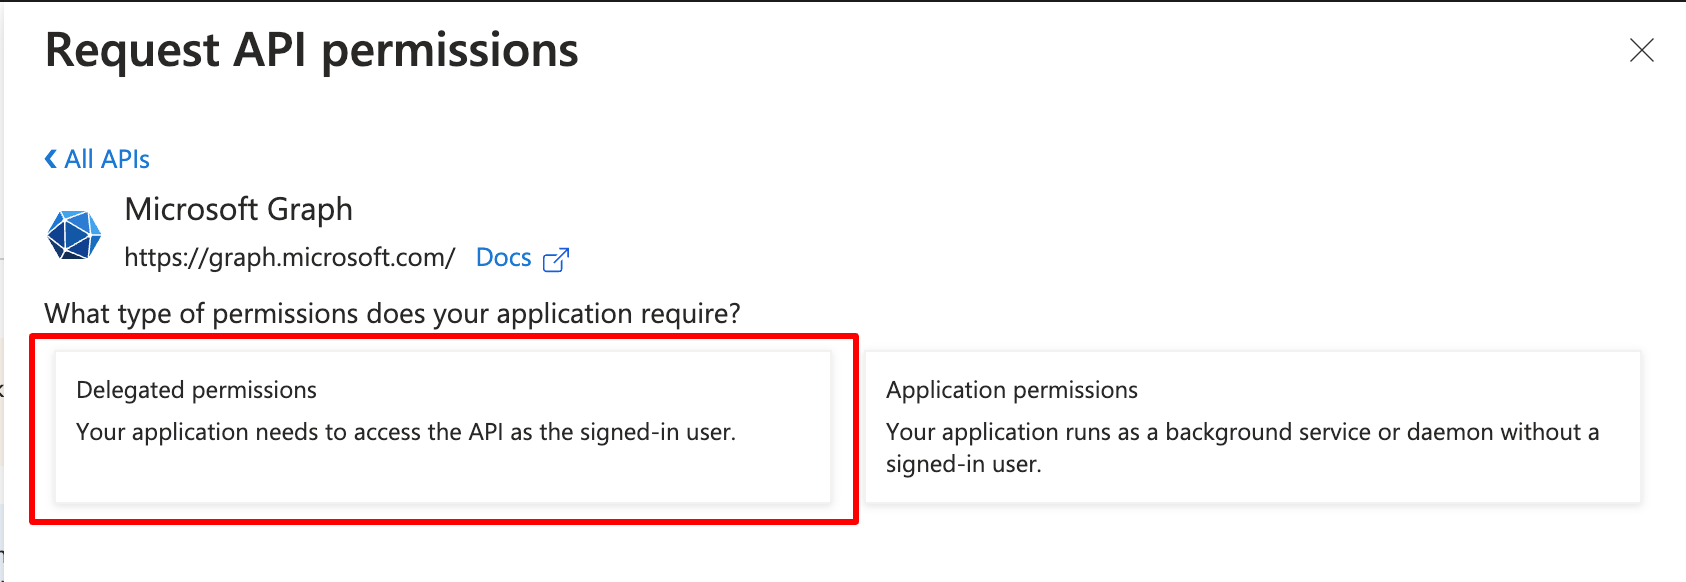
Click on "Microsoft Graph", and then on "Delegated permissions".
-
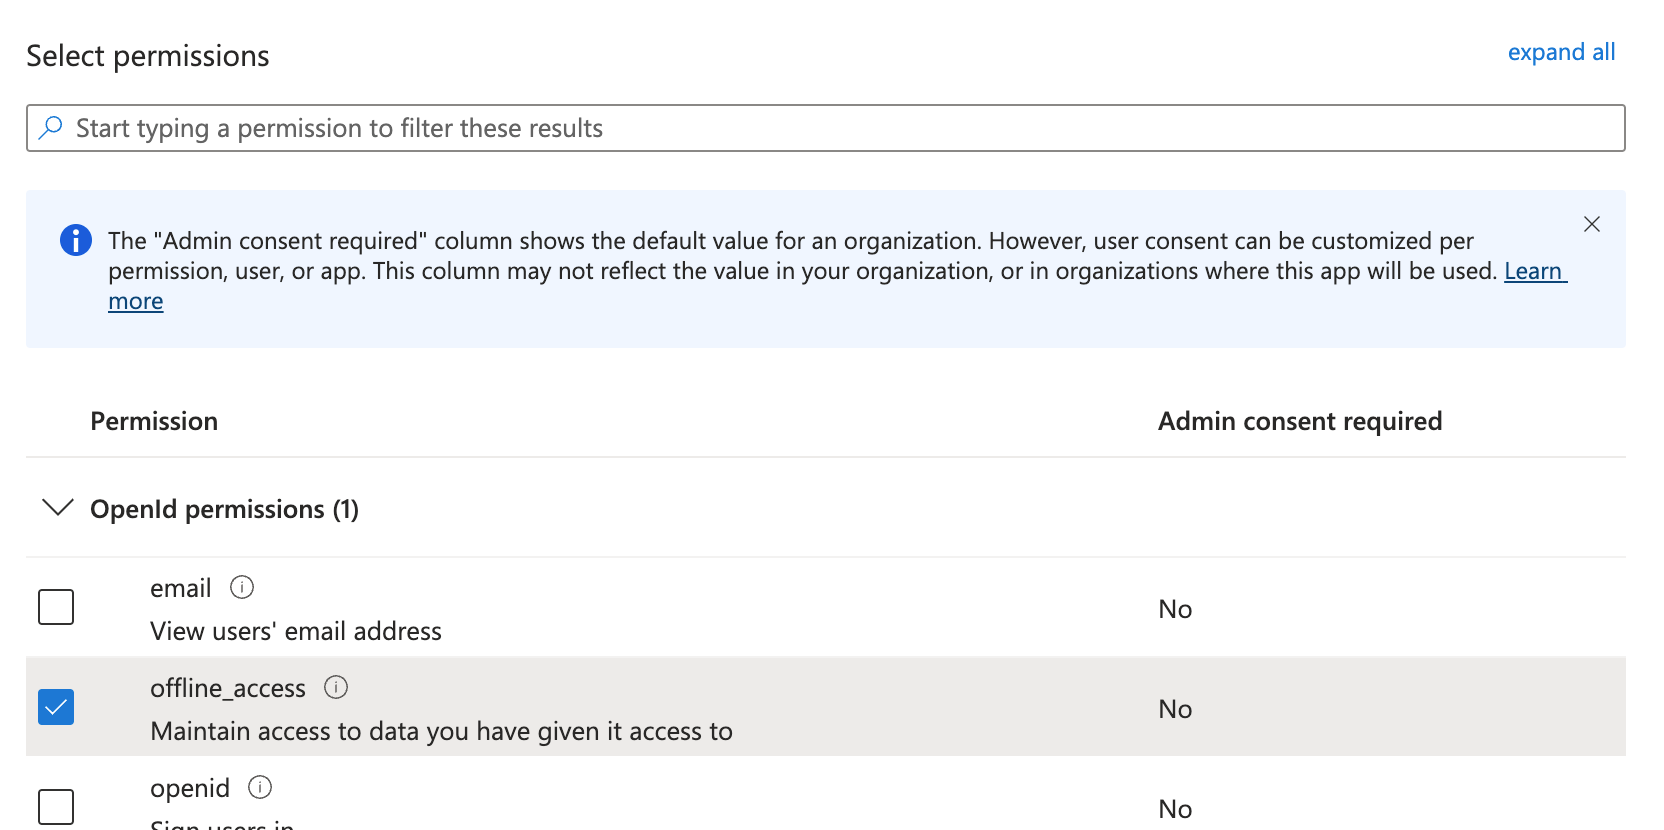
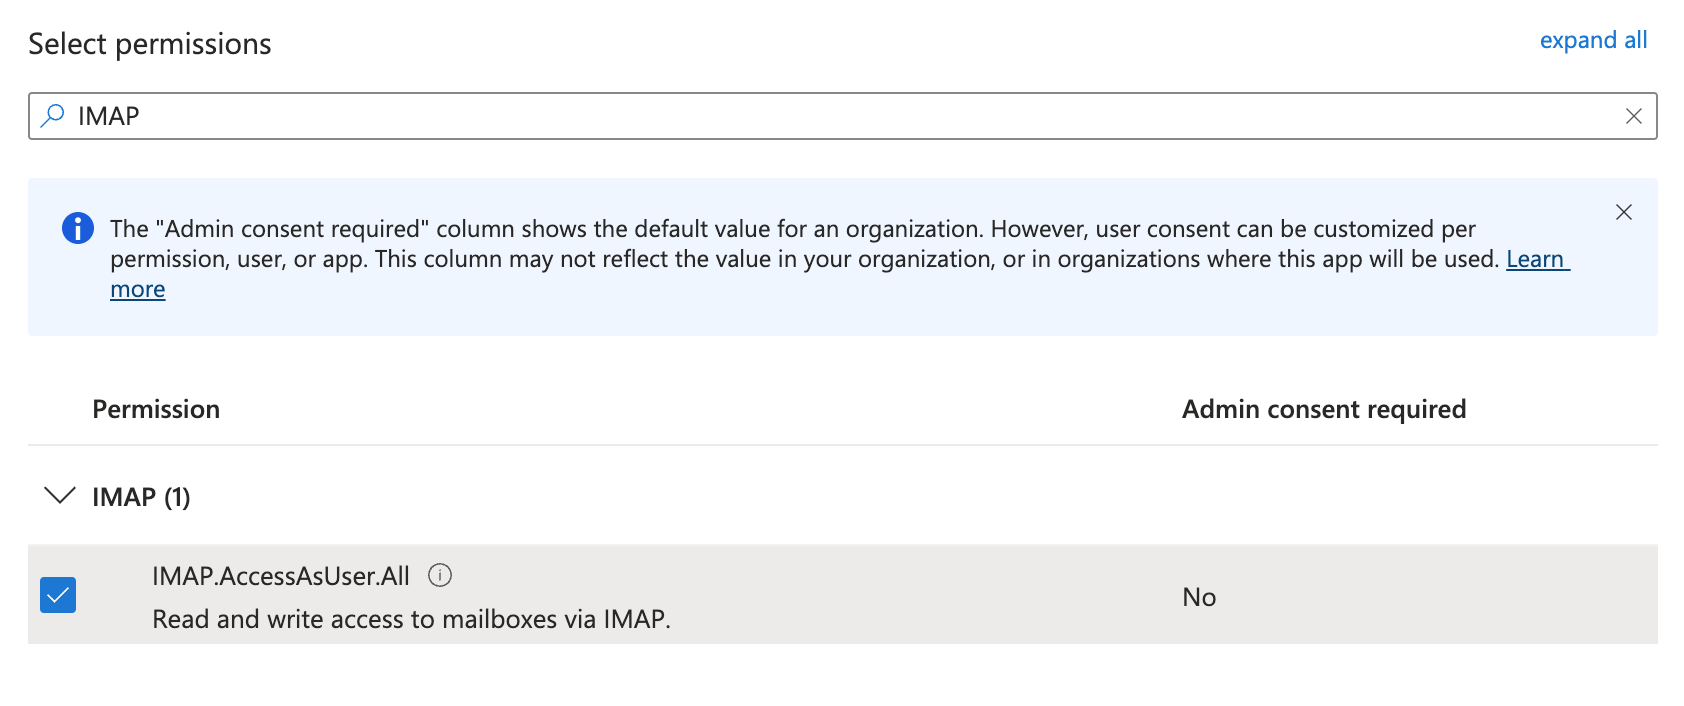
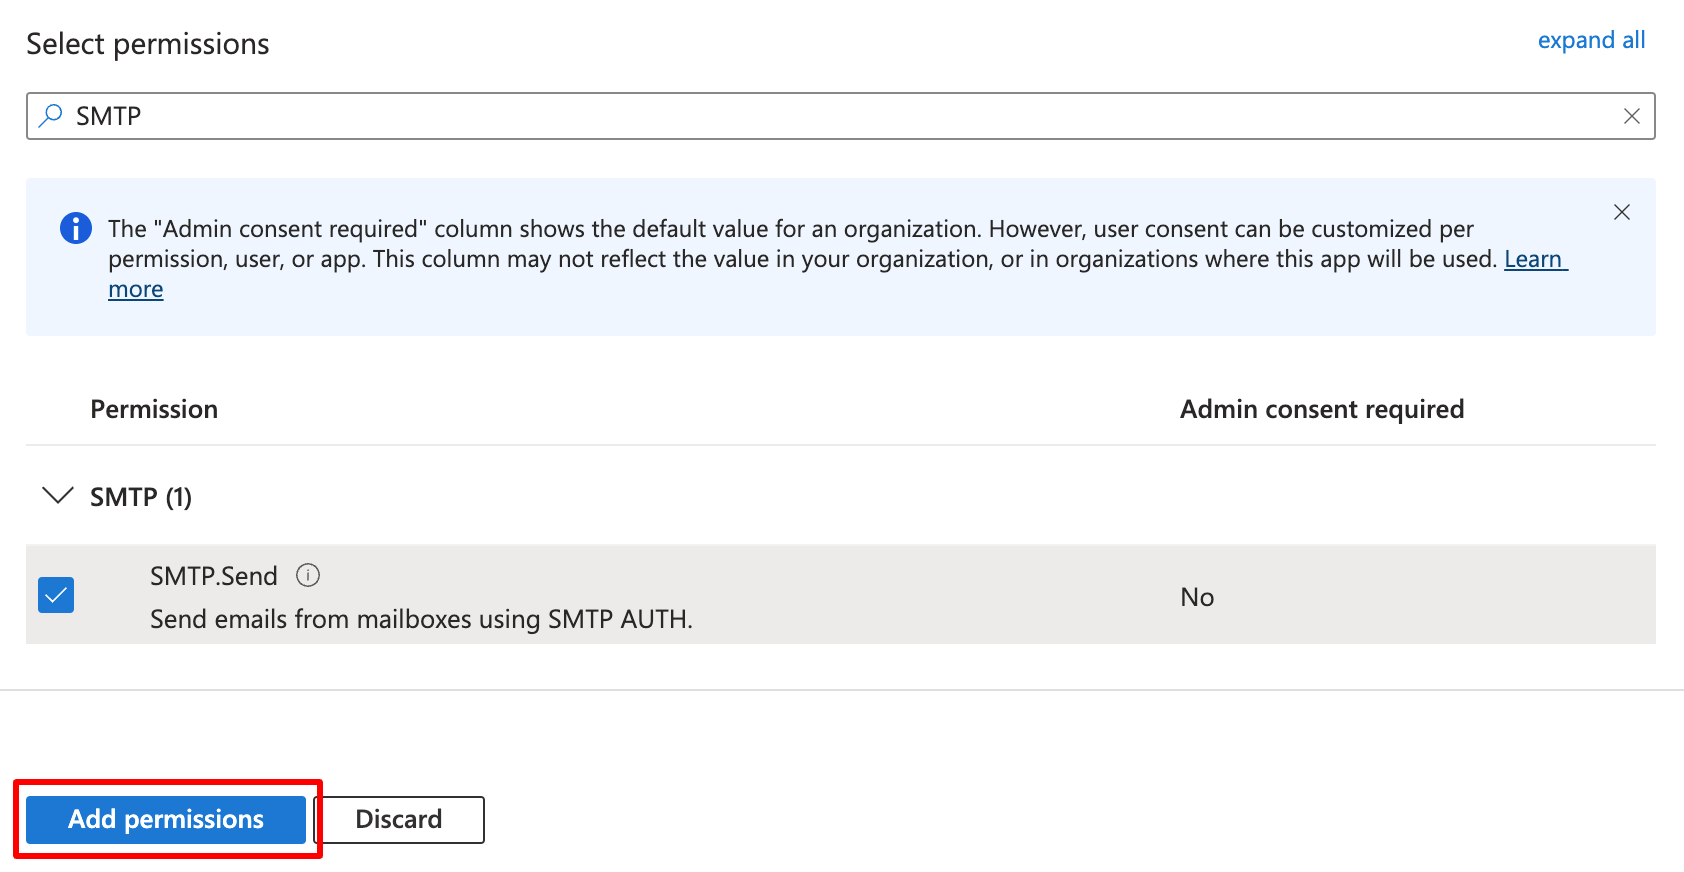
Search for and select the following permissions, and then click "Add permissions".
- offline_access
- IMAP.AccessAsUser.All
- SMTP.Send
-
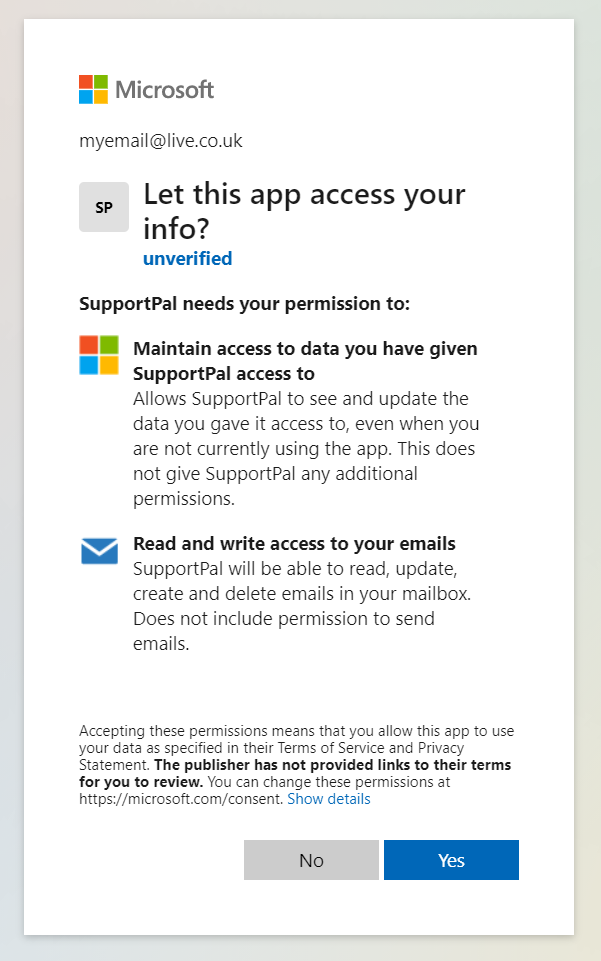
The page will reload with the new permissions, then click on "Grant admin consent for [Company Name]", and click
"Yes" on the popup to confirm.


-
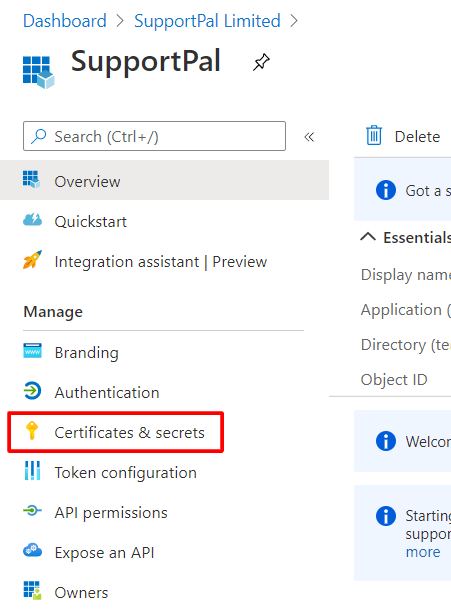
Next, under "Manage", click on "Certificates & secrets".
-
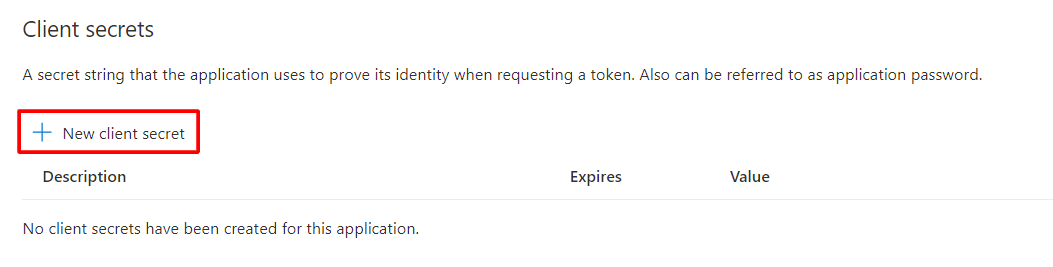
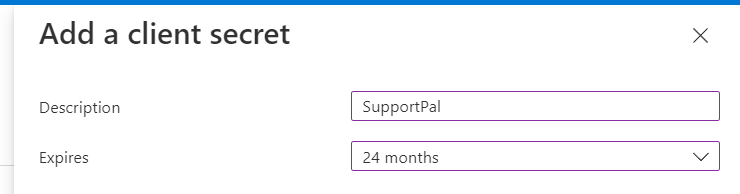
Click on "New client secret". In the popup that shows, enter a name and select "24 months" for the expiry, then click "Add".
-
The client secret value (not client secret ID) will show that need to be entered on the SupportPal screen, along with the client ID as mentioned above, and click "Save".


Microsoft OAuth for Department Email Accounts (IMAP) and SMTP
To use Microsoft as an OAuth authentication provider, follow the below steps.
- Ensure the Microsoft integration is set up as listed in Integration Settings.
-
Department Email Accounts
Go to Settings -> Tickets -> Departments, click an existing department or create new department. Scroll down to Email Accounts.OAuth authentication only works on IMAP.SMTP
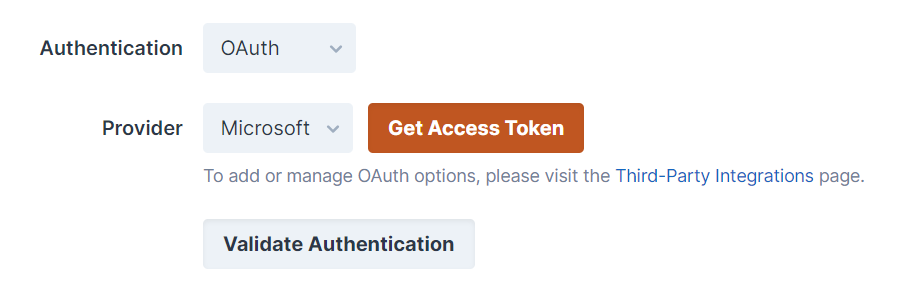
Go to Settings and click on the Email tab. If configuring for a brand, go to Settings -> General -> Brands, click on your brand and then the Email tab. - Change the Authentication dropdown to "OAuth".
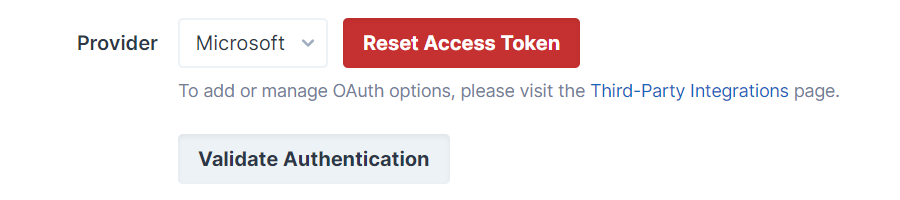
- Select Microsoft from the provider dropdown. If it isn't visible, you may have a problem in your integration settings.
-
Ensure the rest of the relevant details are filled in Click on "Get Access Token".
-
A pop up will show, you may need to login (with the email address you are trying to request a token for) and follow through all steps before the popup will close itself.
-
The access token will now have saved to SupportPal, you can confirm by seeing that the button is now red and labelled "Reset Access Token".
-
Finally, click "Validate Authentication" to confirm it is working, and then continue with the form on seeing a success message.
The access token will not be saved unless the settings form is submitted.
Troubleshooting
The provided value for the input parameter 'redirect_uri' is not valid
The redirect URL entered in the Microsoft app is not correct. Under "Manage", click on "Authentication" and ensure the Redirect URI matches the one shown in the integration settings. Click "Save" after changing the URI.

User is authenticated but not connected
There are a plethora of reasons why you may see this error, below are some possibilities:
- You're connecting via an alias rather than the primary account.
- Your connection has been throttled and you need to wait a few minutes.
- Bug in Microsofts' IMAP implementation which incorrectly says successful authentication when it should have failed.