
Deploy SupportPal on cPanel
Prerequisites
Before you install SupportPal, ensure your web hosting provider is compatible with
our system requirements. The most notable requirement
is the ionCube loader PHP extension.
If you manage the server, ensure the required extensions are installed via EasyApache in WHM.
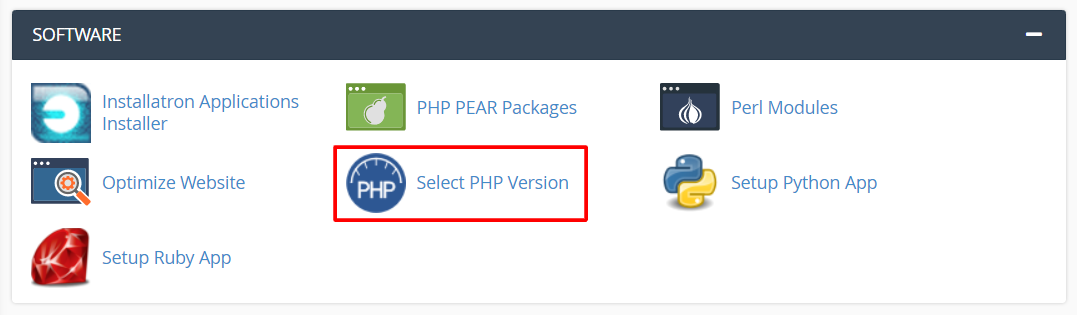
If CloudLinux is installed, you may be able to install any required extensions in the cPanel account through the 'Select PHP Version' page.
Installation & Configuration
Download SupportPal
Download the current stable release at our downloads area (client area login required).
Upload, Extract and Set File Permissions
-
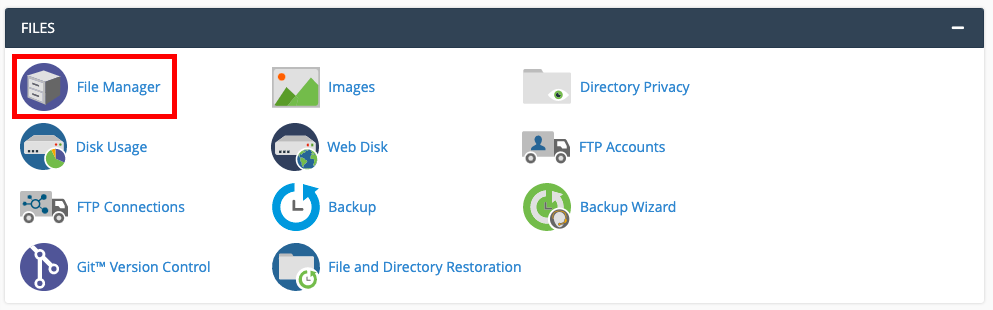
Open the File Manager.
- Browse to the directory where you want to store SupportPal. Typically:
public_html. -
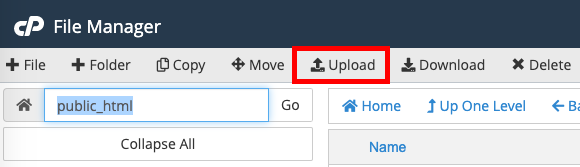
Click the
Uploadbutton and upload the SupportPal release.
-
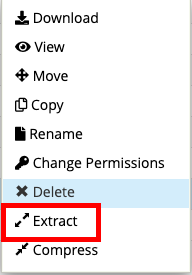
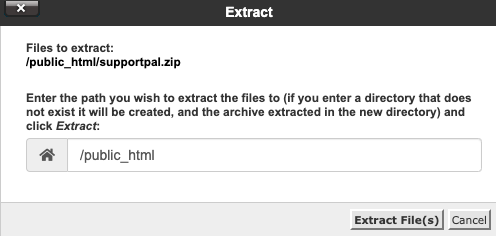
Right click on the SupportPal release and select
Extract.
-
Press
Extract File(s).
Create Database
-
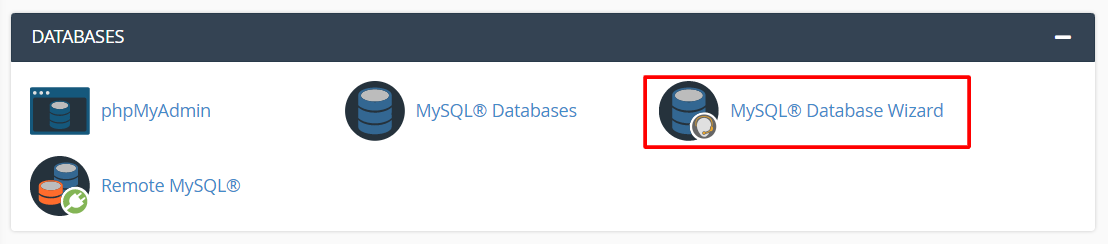
Visit
MySQL Database Wizardfrom the cPanel dashboard.
-
Create a new database with a name of your choice:
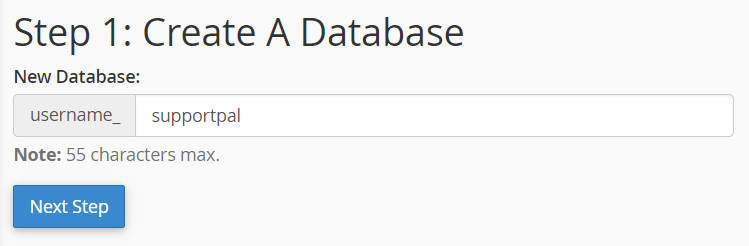
-
Create a database user and remember the password for later:
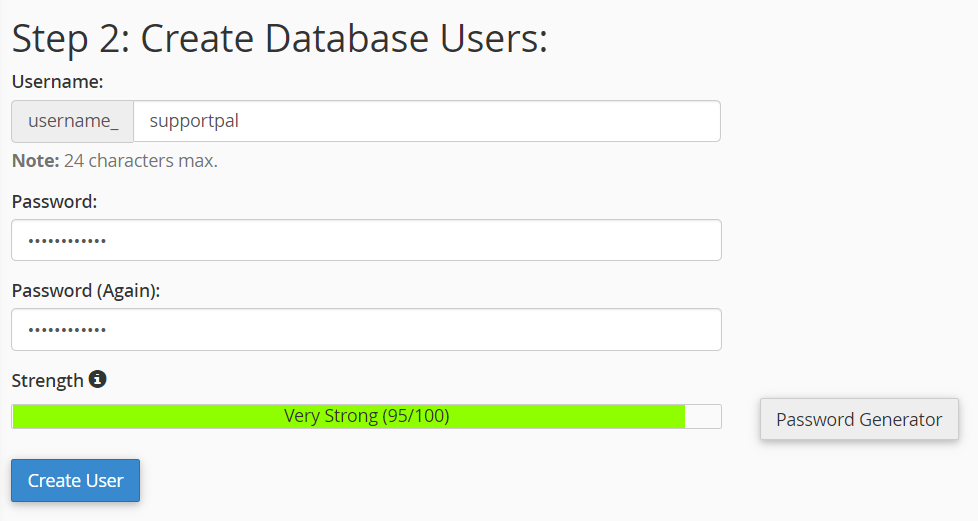
-
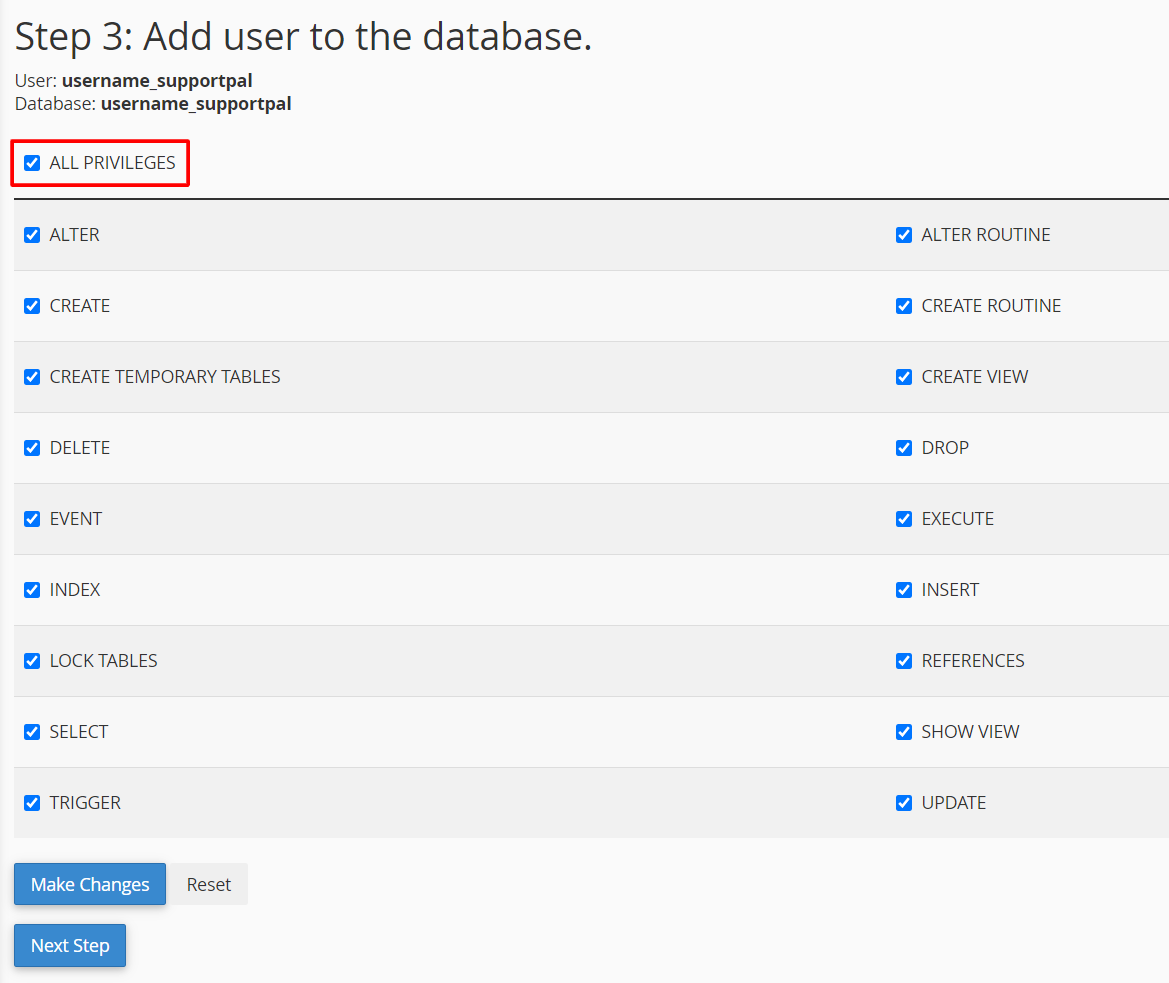
Click 'All Privileges' when adding the user and click 'Next Step' to complete the wizard.
'All Privileges' is the simplest option, but if you wish to choose only certain privileges, see the System Requirements for what is required.
Run Installer
- Start the install process by visiting the URL where you have uploaded SupportPal, e.g. http://yourdomain.com/support.
- Verify the correct version shows in the installation type and click continue.
- Read through our EULA and accept.
- The installer will verify if your server passes the system requirements. If anything shows a cross, please correct and retry. It's worth checking over optional requirements in case it covers a feature you'd like to use. Continue when everything required passes.
- Enter your database details (created above).
- Click the 'Begin' button, this will start the process of running the database migrations and seeds. This may take several minutes, wait for it to complete and then click 'Continue' once the button shows.
- Enter your license key, and it should show a 'License Valid' below. If it doesn't, you may need to re-issue the license at our client area and then enter it again. Also fill in your operator account details and continue.
- Enter your company information and change the locale settings as necessary and continue.
- The installation is complete, keep a note of the operator panel login URL.
Set up Cron Job
-
The cron job is used to perform background tasks such as sending emails and closing inactive tickets.
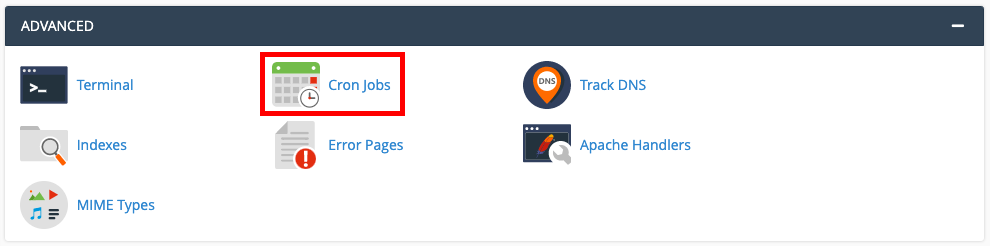
Select Cron Jobs from the dashboard.
-
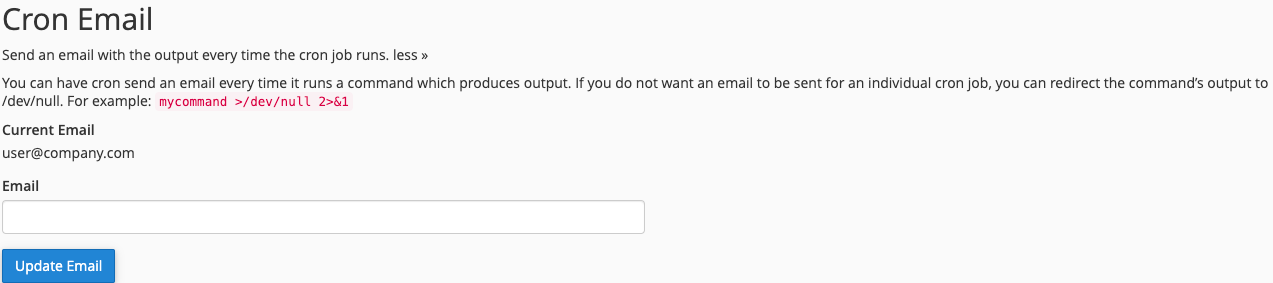
Input your email address into the
Cron Emailsection and clickUpdate Email. This will notify you whenever there is a problem with the SupportPal cron job and enable you to take corrective action.
-
Browse down the page to Add New Cron Job.
Select Once per minute from the Common Settings dropdown, and input the
following into the Command box, replacing
<supportpal_base_path>with your own path:php -q /<supportpal_base_path>/cronYou may need to change the PHP executable, especially if your account makes use of MultiPHP, for example to/usr/local/bin/phpor/usr/local/bin/ea-php72. Check the PHP command examples shown on the page.
Next Steps
Congratulations, you've successfully installed SupportPal!
We now recommend that you learn how to administer your installation.