
Third-Party Integrations: Google
The Google integration has multiple purposes. It can be used to allow using OAuth authentication for IMAP (department email accounts) and SMTP (outgoing emails). Also, it can be used to allow users to log in and sign up with their Google account, an option available under our Social Login integrations.
Prerequisites
To set up Google, you must have a Google account.
Activate or Deactivate Integration
The Google integration is disabled by default and needs to be activated before use.
- Visit Settings -> General -> Third-Party Integrations.
- Find the Google integration and click the "Activate" link located on the left of the table.
- The page will reload confirming the integration has been activated.

The integration can be deactivated by following the above process, but using the "Deactivate" link instead.
Integration Settings
To set up Google, you will need to set up a Google project, follow the steps below.
- Visit the Google Cloud Platform website - https://console.cloud.google.com/apis - and sign in to your Google account.
-
Click on the project selector and then click on "New Project".


-
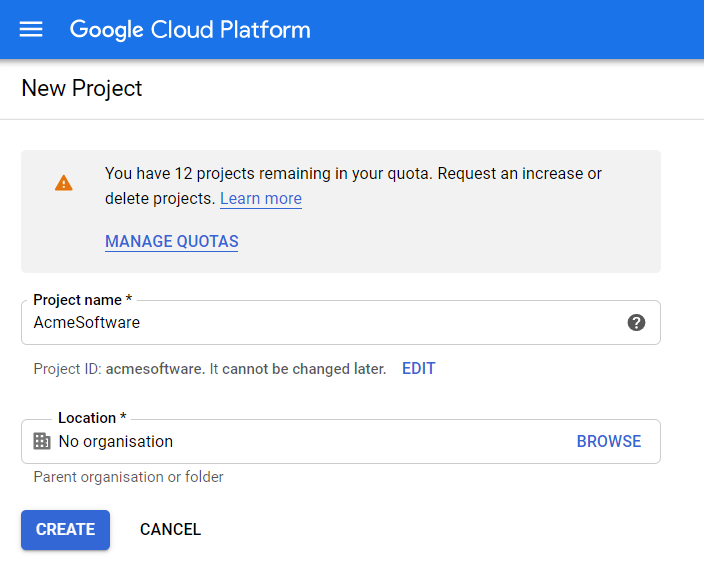
Enter a name for the project and click "Create".
-
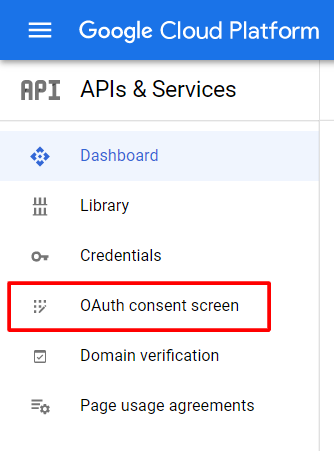
The project will be created in the background, it may take a few minutes. Wait for the page to reload and then click "OAuth consent screen".
-
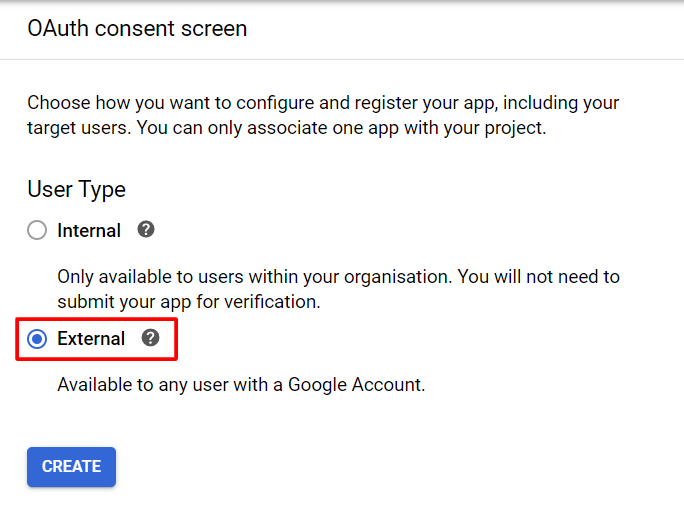
Choose "External" for the user type and click "Create".
-
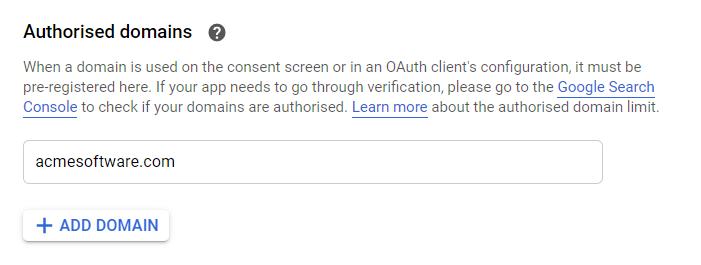
Fill out the form with the information of your organisation. Make sure to set the authorised domain to the base domain or subdomain where the help desk will be hosted.
- There is no need to add any scopes or the optional information, click "Save and Continue" twice.
-
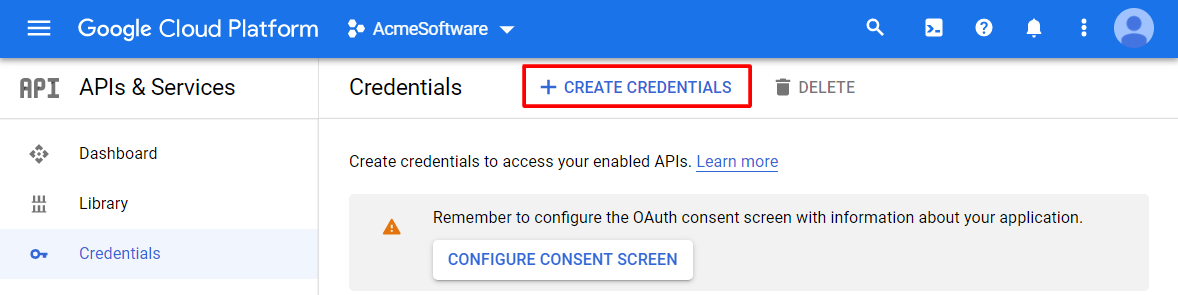
On the summary page, click "Credentials" in the sidebar.
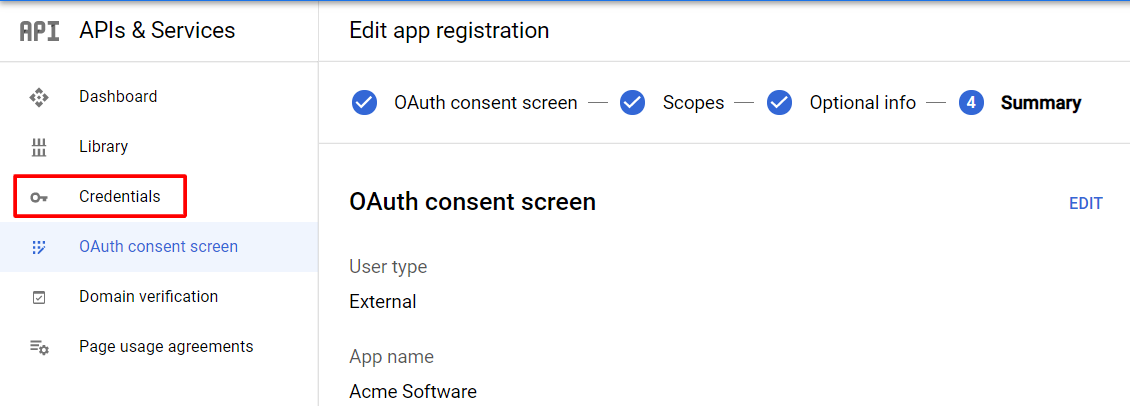
-
Click "Create Credentials" and then "OAuth client ID".
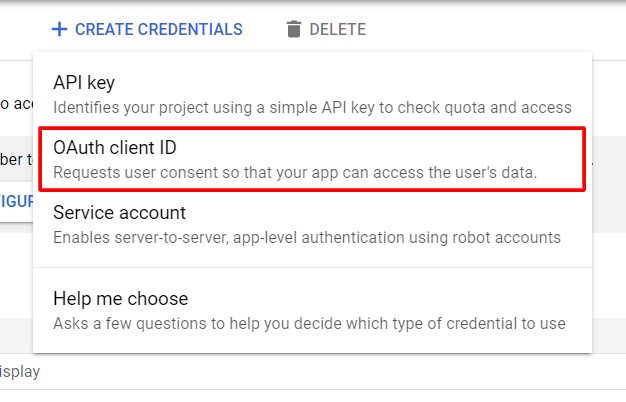
-
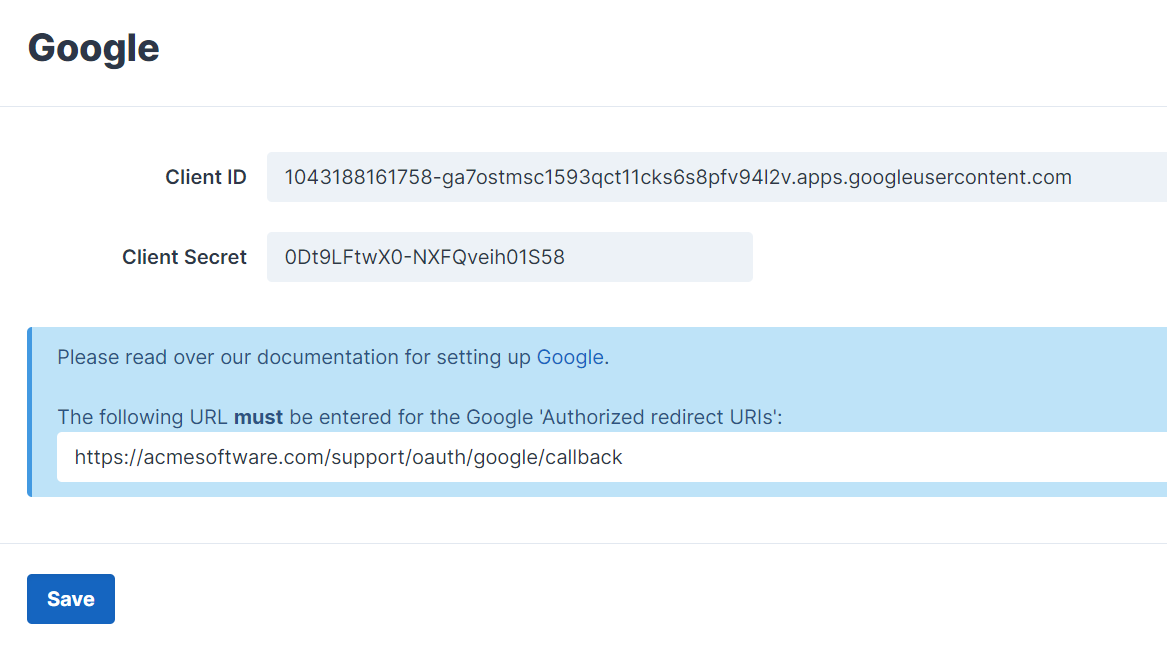
In SupportPal, click on "Settings" under Google on the third-party integrations page. This page will show you the authorised redirect URI needed.

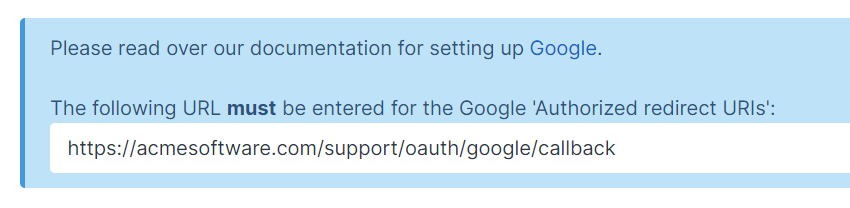
-
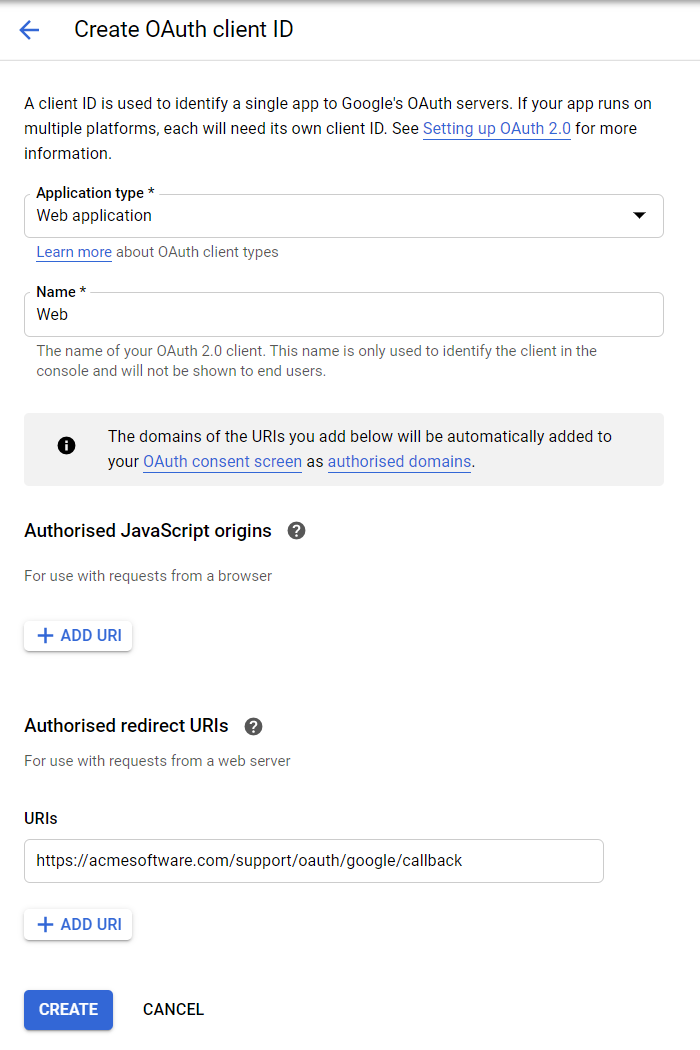
Set a name for the client and add the authorised redirect URI from SupportPal, then click "Create".
-
A pop up will show your client ID and secret that need to be entered on the SupportPal screen and click "Save".
Enabling Google Social Login
To enable the Google login option for your users, follow the steps below.
- Go to Settings -> Users -> Social Login, and click "Manage" on the right of the Google box. If the option is not there, please ensure you have completed the above set-up of the integration correctly.
- Press the toggle to enable the social login. If you have multiple brands, you will have the option to enable or disable for each brand.
- Press "Submit".
It should now be successfully configured, we recommend to try the login as a test user to verify it works.
Google OAuth for Department Email Accounts (IMAP) and SMTP
To use Google as an OAuth authentication provider, follow the below steps.
- Ensure the Google integration is set up as listed in Integration Settings.
-
Department Email Accounts
Go to Settings -> Tickets -> Departments, click an existing department or create new department. Scroll down to Email Accounts.OAuth authentication only works on IMAP.SMTP
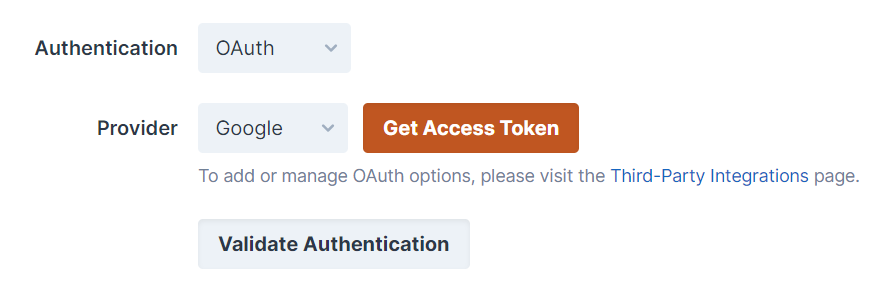
Go to Settings and click on the Email tab. If configuring for a brand, go to Settings -> General -> Brands, click on your brand and then the Email tab. - Change the Authentication dropdown to "OAuth".
- Select Google from the provider dropdown. If it isn't visible, you may have a problem in your integration settings.
-
Ensure the rest of the relevant details are filled in Click on "Get Access Token".
-
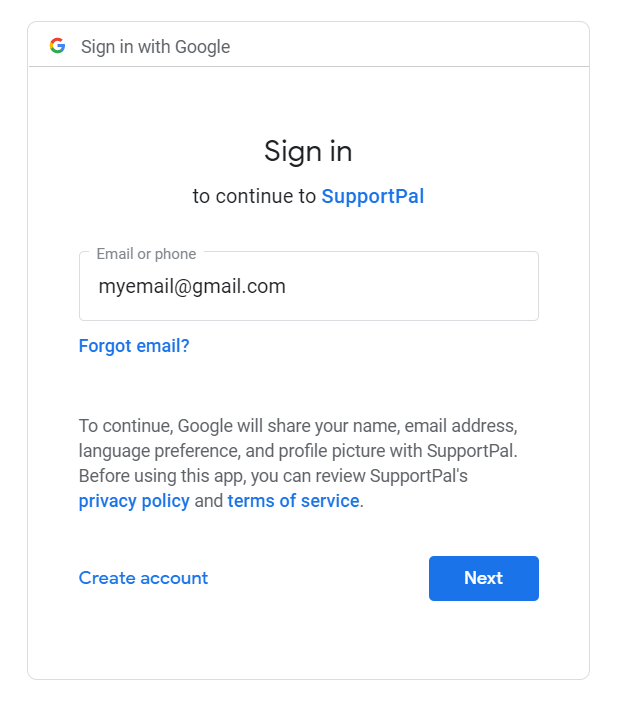
A pop up will show, log in to your account or click on your account if already logged in.
-
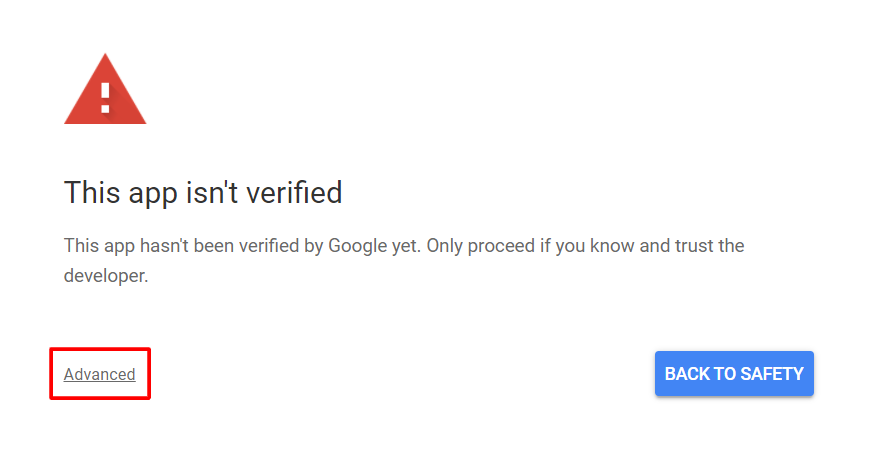
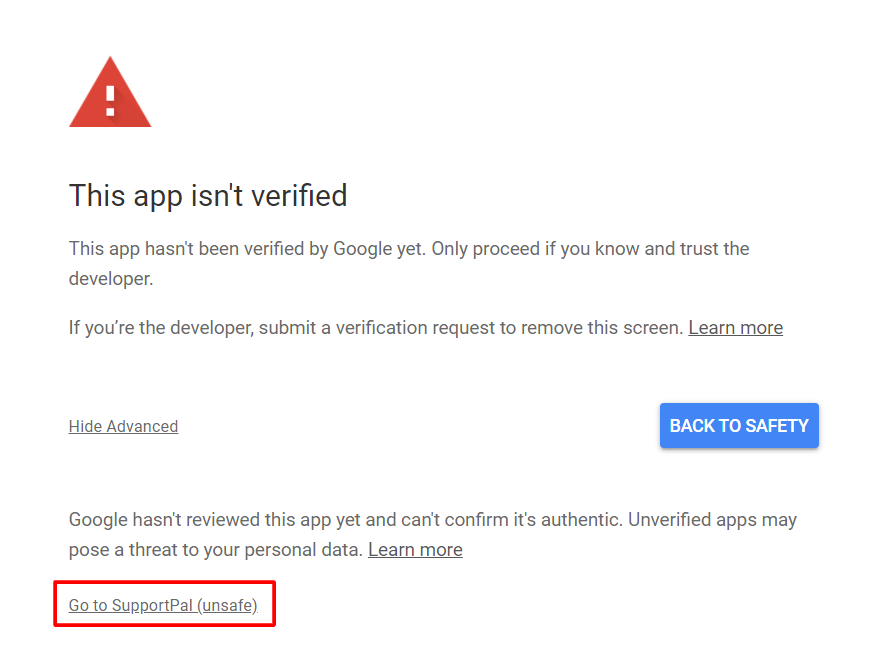
You will likely see a warning that the app isn't verified, click "Advanced" and then "Go to [App Name] (unsafe)".
-
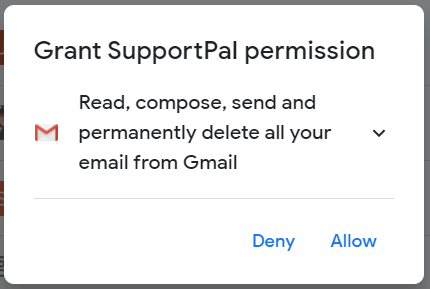
A pop up will show to grant permission to your Gmail account, click on "Allow".
-
On the next screen, click on "Allow".

-
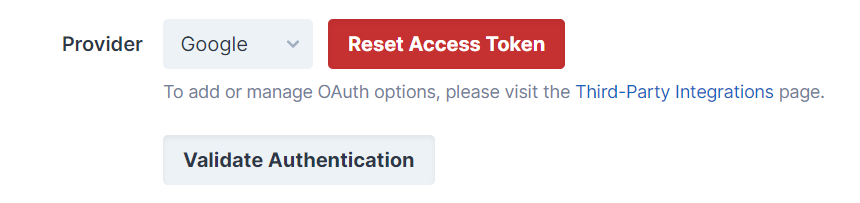
The access token will now have saved to SupportPal, you can confirm by seeing that the button is now red and labelled "Reset Access Token".
-
Finally, click "Validate Authentication" to confirm it is working, and then continue with the form on seeing a success message.
The access token will not be saved unless the settings form is submitted.
Troubleshooting
Invalid parameter value for redirect_uri

The redirect URL entered into the Google app is not correct, or you may not use non-public domains (other than localhost).