
You're browsing the documentation for an old version of SupportPal. Consider upgrading to the latest version.
Google Login
Allow users to log in and sign up with their Google account, an option available under our Social Login integrations.
Prerequisites
To use Google Login, you must have a Google account.
Activate or Deactivate Provider
The Google provider is disabled by default and needs to be activated before use. To do this, go to Settings -> Users -> Social Login and click the "Activate" link on the Google provider box. A provider can be defined for each brand, the "Enabled" option should be toggled to on for it to be available to users on the frontend.
The provider can be deactivated by toggling the "Enabled" option to off for all brands.
Setting Up Provider
To set up Google login, you will need to set up a Google project, follow the steps below.
- Visit the Google Cloud Platform website - https://console.developers.google.com - and sign in to your Google account.
-
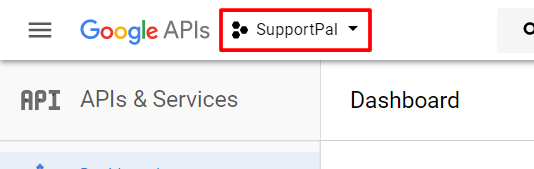
Click on the project selector and click the plus icon to create a new project.

-
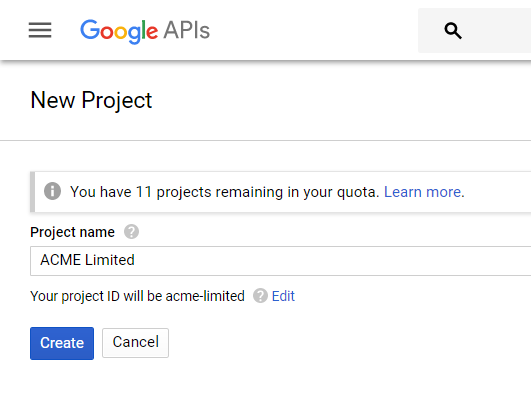
Enter a name for the project and click "Create".
-
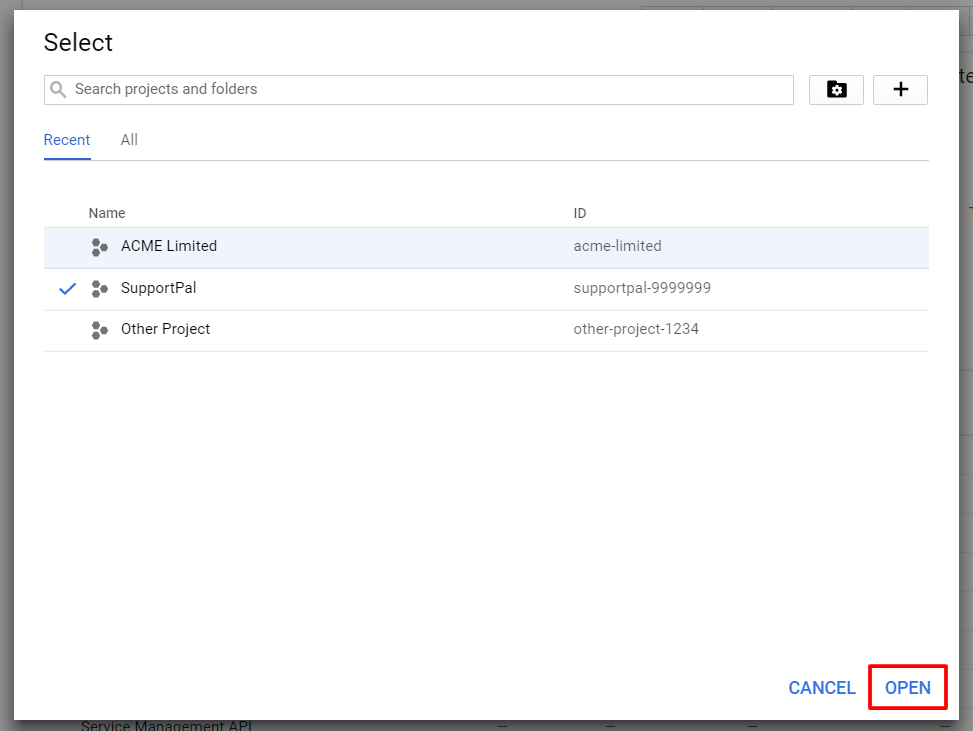
The project will be created in the background, it may take a few minutes. Click the project selector and select the new project once it's available and click "Open".
-
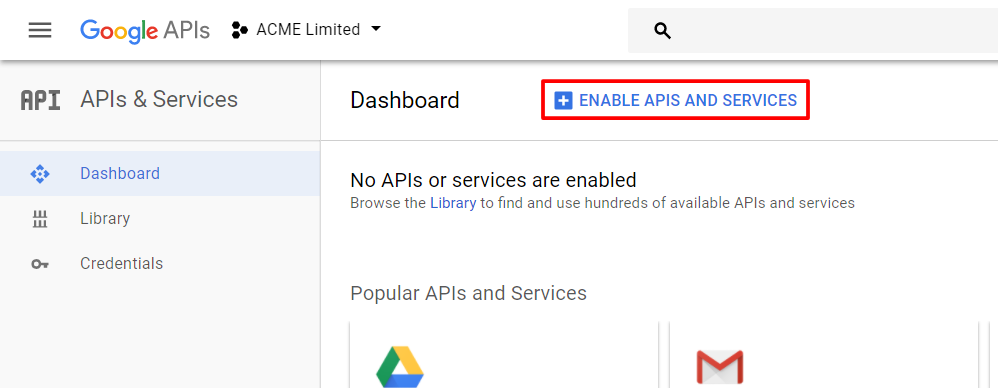
The project dashboard will load, click "Enable APIs and Services".
-
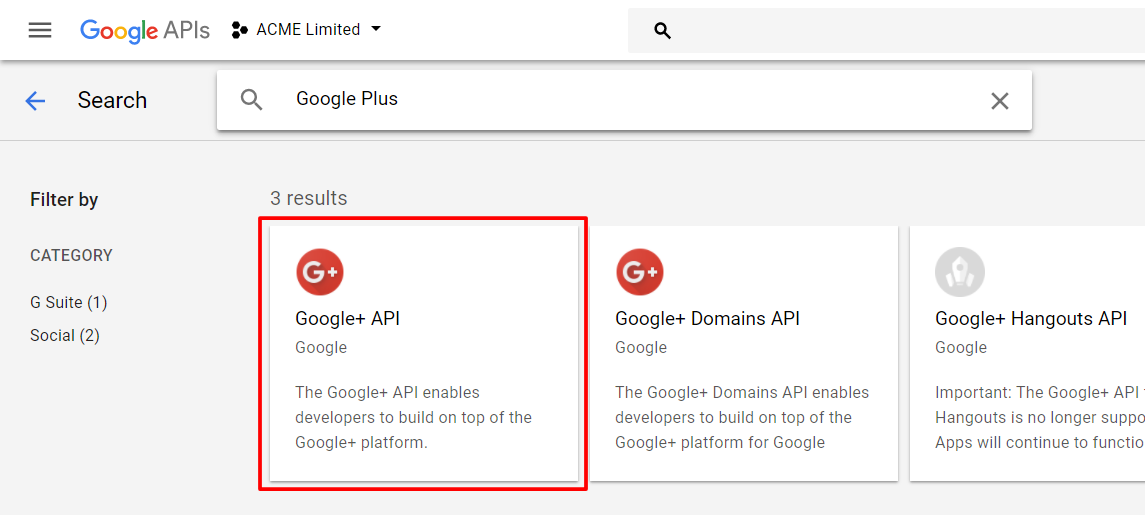
Search for "Google Plus" and click on the Google+ box that shows.
-
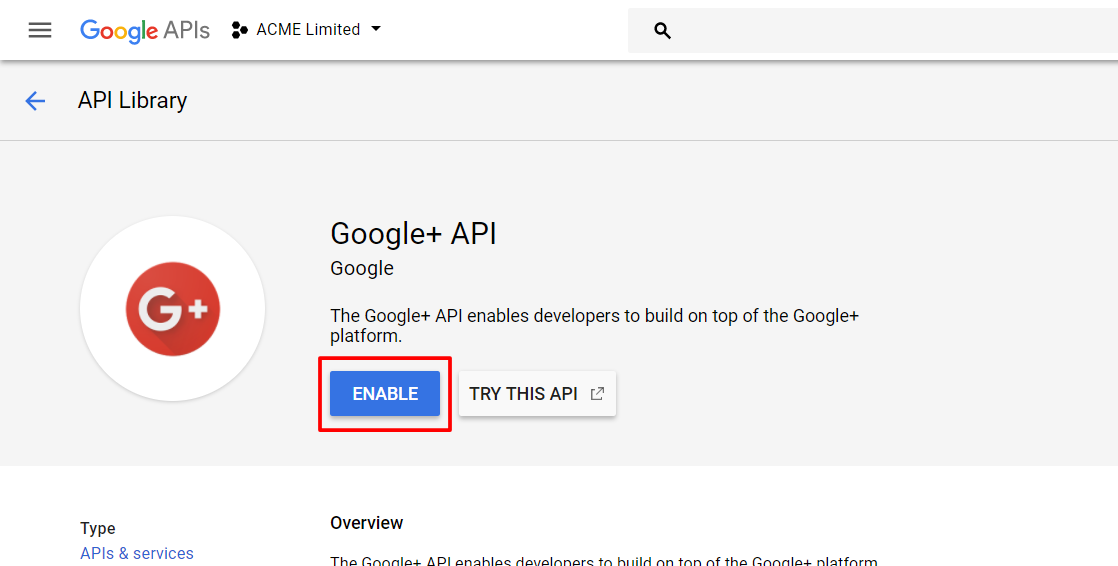
Click the "Enable" button to activate the API.
-
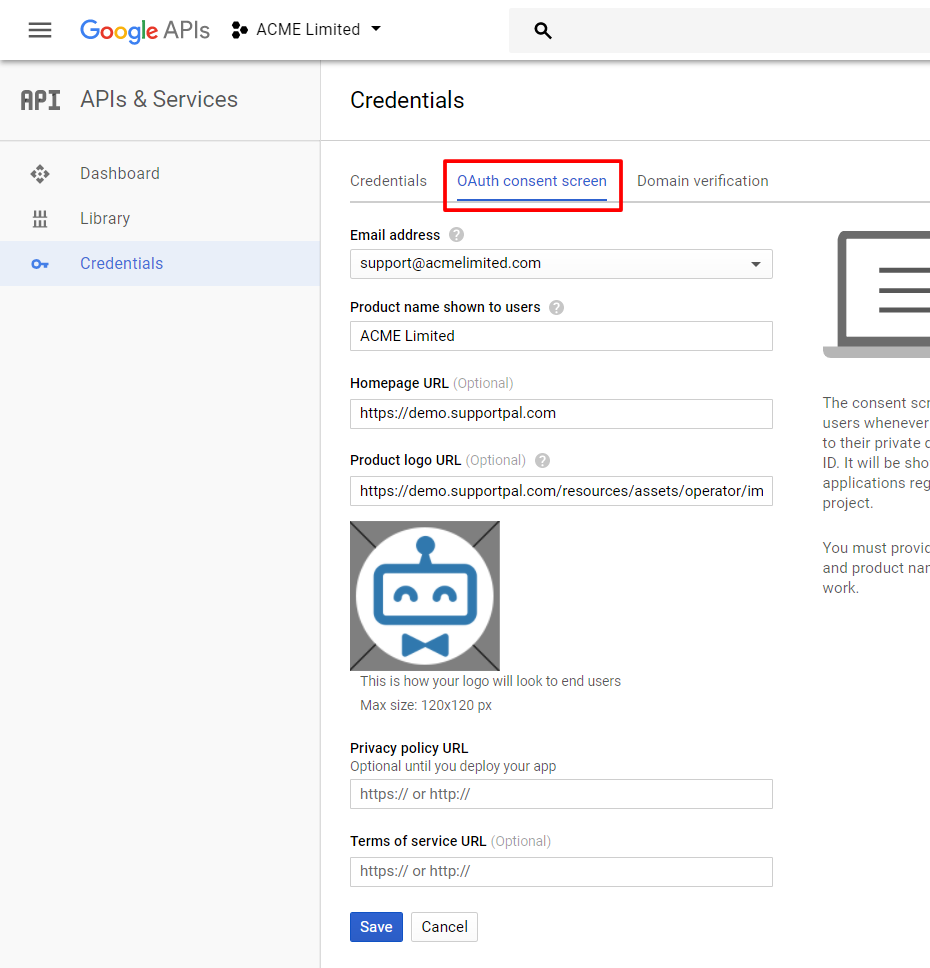
The Google+ API will take a few moments to enable. Once the dashboard reloads, click "Credentials" in the sidebar.

-
Click the "OAuth consent screen" tab and enter a name, homepage URL and logo URL. This will be what the user sees when being asked to authorise access to their Google account. Click "Save".
-
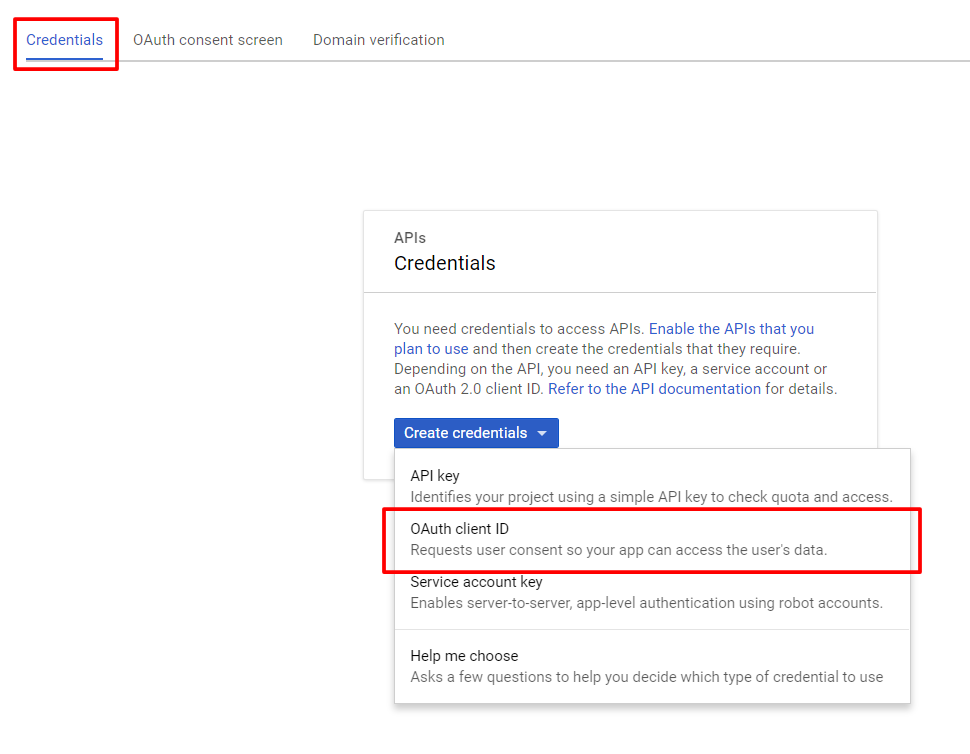
Click the "Credentials" tab and click the "Create credentials" button. Choose "OAuth client ID" from the list of options that pop up.
-
Choose "Web application" for the application type and enter a name for it. For the restrictions, the help desk URL needs to be entered for the authorised JavaScript origins, and the callback URL (as shown in the SupportPal configuration screen) needs to be entered for the authorised redirect URIs. Once complete, click "Create".
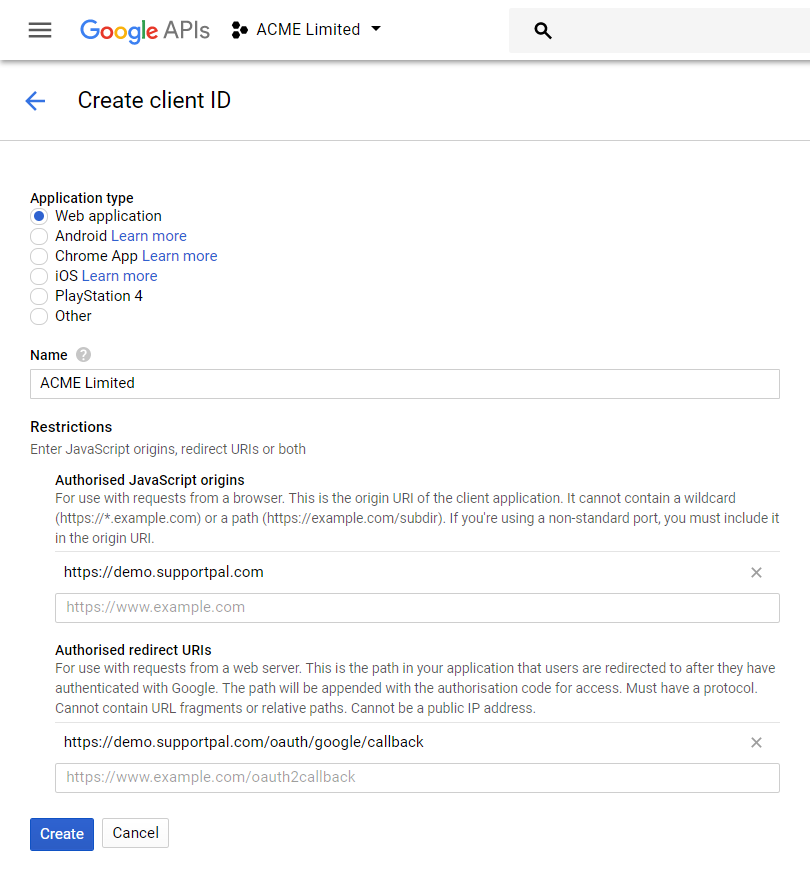
-
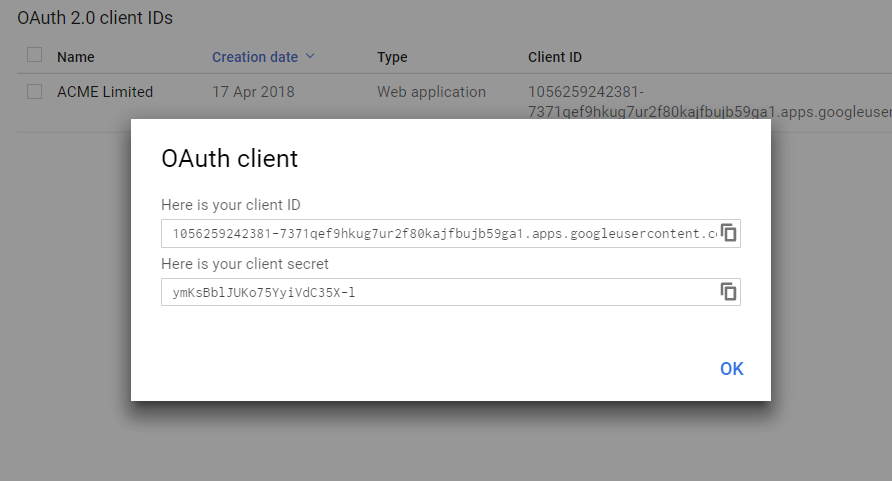
A pop up will show your client ID and secret that need to be entered in to the SupportPal configuration screen and click "Submit" to save.
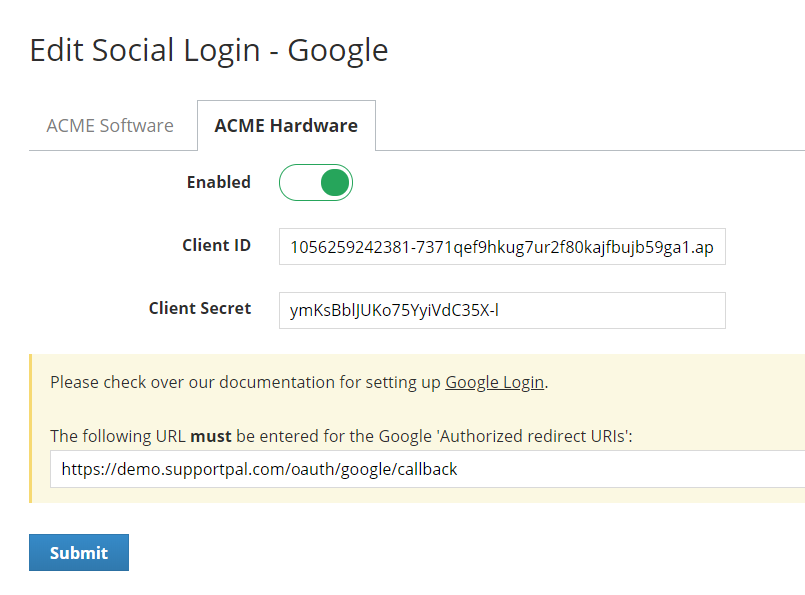
- It should now be successfully configured, we recommend to try the login as a test user to verify it works.