Managing Users
Users represent customers which have corresponded with your help desk.
Searching for Users
When managing a number of users, it's possible to search and filter the results shown in the table.
Table Sorting
By default the table is sorted alphabetically by latest registered. Once the table has loaded you're able to change the sort column by clicking the up/down arrows:
- Down arrow: descending order
- Up arrow: ascending order
Filtering the Table
It's possible to filter users based on a number of conditions:
- Visit Users -> Manage Users and click "Filter Results".
- Select the condition you wish to filter by, the filtering operator such as 'Is', 'Is Not' or 'Contains', and the value to filter by.
- Click 'Update' to update the results in the table.
Creating or Updating a User
- Visit Users -> Manage Users. If you're creating a new user click "Add User", or if you're updating an existing user, find the user and click the edit (pencil) icon on the right side of the table row.
-
Complete the form fields:
Profile- First name
- Last name
- Email - The unique email address for the operator which they will use to login to help desk and receive notifications.
-
Password - It is possible to configure a password for a user or alternatively, for better security, allow the user to create the password by themselves.
When creating a new user account, if you prefer to manually specify the password for a user uncheck the "Send user confirmation e-mail" box and input a password.
Alternatively, if you're updating a user account and need to reset their password - click the "Send reset password" button. - Country
- Language - The language the user prefers to use. The help desk will then be configured to show text in that particular language for the user.
- Timezone - The timezone the user exists in is used to ensure timestamps displayed in the help desk are displayed correctly for that user.
- Avatar - A public image which will be sent in all e-mail and web-based ticket correspondence.
- Notes - Add notes on the user which are visible to operators only.
- Name - The name of the organisation. It is possible to create a new organisation by typing into the field and clicking "Add ..." or searching for an organisation and selecting it from the dropdown menu.
- Access Level - Organisation's are configured on a two-tier system of users and managers. Managers are given elevated permissions in viewing all ticket correspondence with the organisation and controlling who has access to the organisation. The access level can only be changed if the user is not currently the owner of the organisation.
- Notifications - If the user is a manager of an organisation, you can choose if they should receive updates about tickets opened by other organisation users. It will preselect the default value set under Organisation settings in General Settings.
- Click "Submit" to save, and send the operator their new account details. It is recommended they change their password upon logging in.
Deleting a User
Deleting a user is an irreversible action as it cannot be restored. When deleting a user all associated content will also be removed, this includes but is not limited to: article comments and tickets.
To delete a user, follow the below steps:
- Visit Users -> Manage Users.
- Find the user you would like to delete in the table (see Searching for Users).
- Click the delete icon located on the right of the table.
- Click on the left button, "Yes, Delete User", that pops up confirming you would like to delete this user, along with the related data shown, and they will now be deleted.
Export User Data
If you need to export a single user's data, an export option is available in the system that will pick up all data belonging to that user.
To export a user's data, follow the below steps:
- Visit Users -> Manage Users.
- Find the user who's data you'd would like to export in the table (see Searching for Users) and click their name.
-
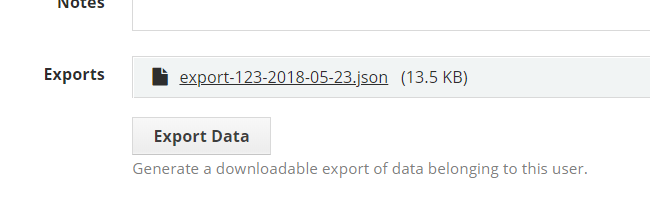
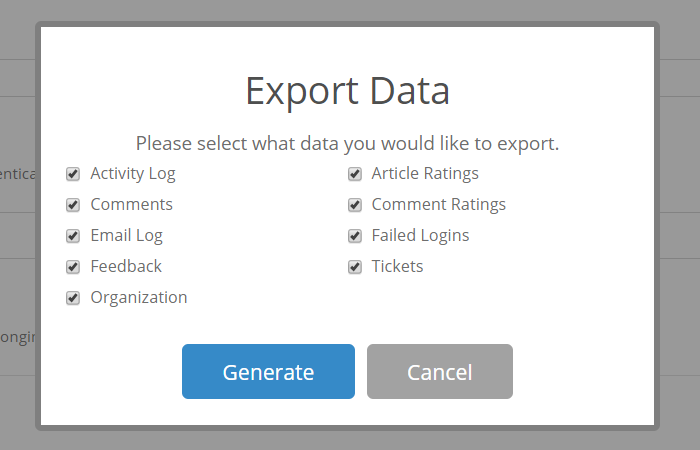
Scroll to the bottom of the Profile section and click on the "Export Data" button. Select the data that you would like to export and click "Generate".
- This will schedule an export to be generated in the background. An email will be sent to you when it's ready and available to download.
-
Once ready, an export will show above the button. Click on the file name to download it.