
X Channel
The X (formerly Twitter) channel can handle multiple accounts and will create tickets on new mentions and direct messages.
Activate or Deactivate Channel
The X channel is disabled by default and needs to be activated before use. To do this, go to Settings -> Tickets -> Channels and click the "Activate" link on the X channel row. The channel can be deactivated in the same way, instead this time by clicking the "Deactivate" link on the same row.
Accounts
Setting up your X Account For Access
If you don't already have an X developer account, you will need to apply before you're allowed to create an application. Please follow our X Developer Application guide to complete this process.
To set up an X account to work with the help desk, you need to set up an application with the right permissions, follow the steps below.
- Visit the X Developer portal - https://developer.twitter.com/en/portal/dashboard - and sign in to your X account.
-
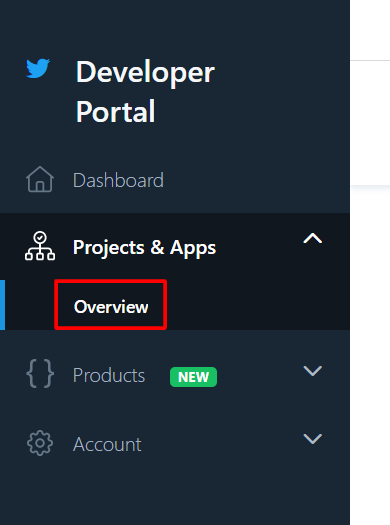
Click "Projects & Apps" in the sidebar and then "Overview".
-
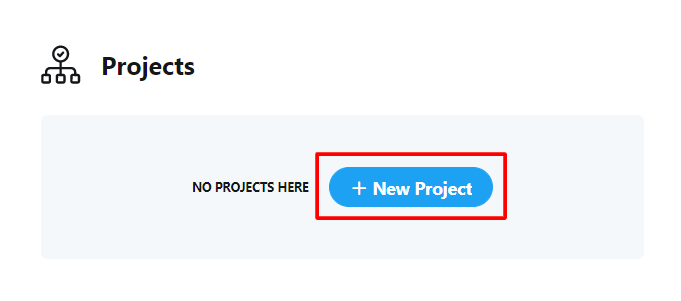
Click on "New Project".
-
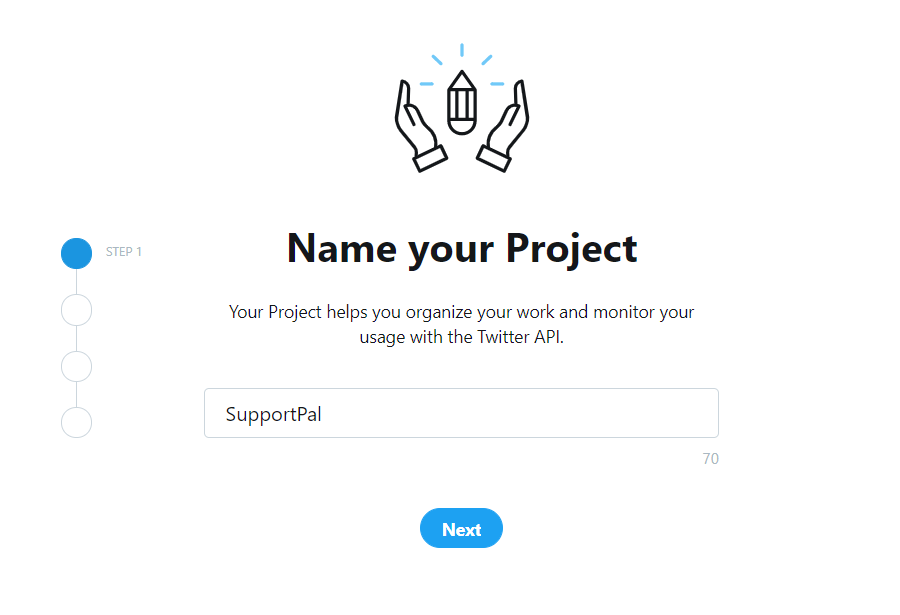
Give your project a name and click "Next".
-
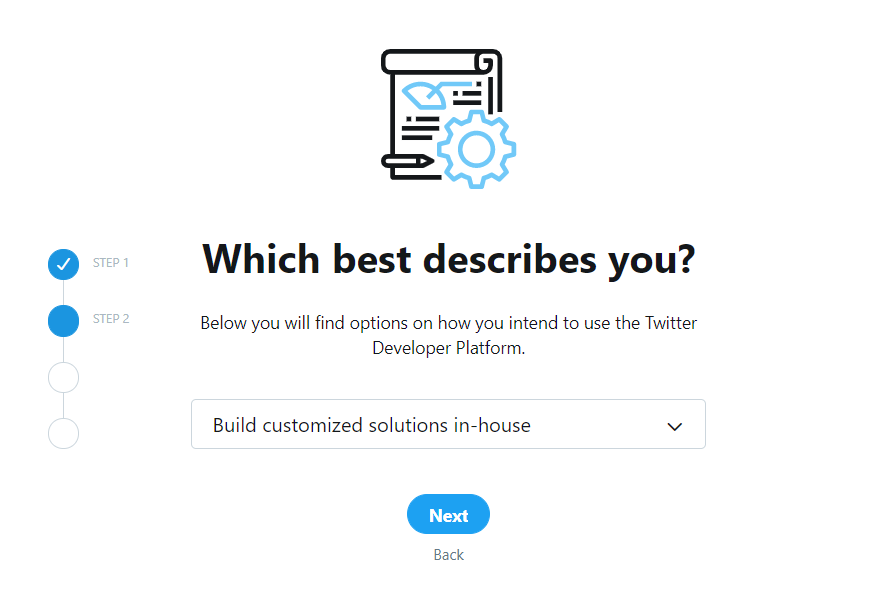
Select 'Build customized solutions in-house' for the use case of the project, and click "Next".
-
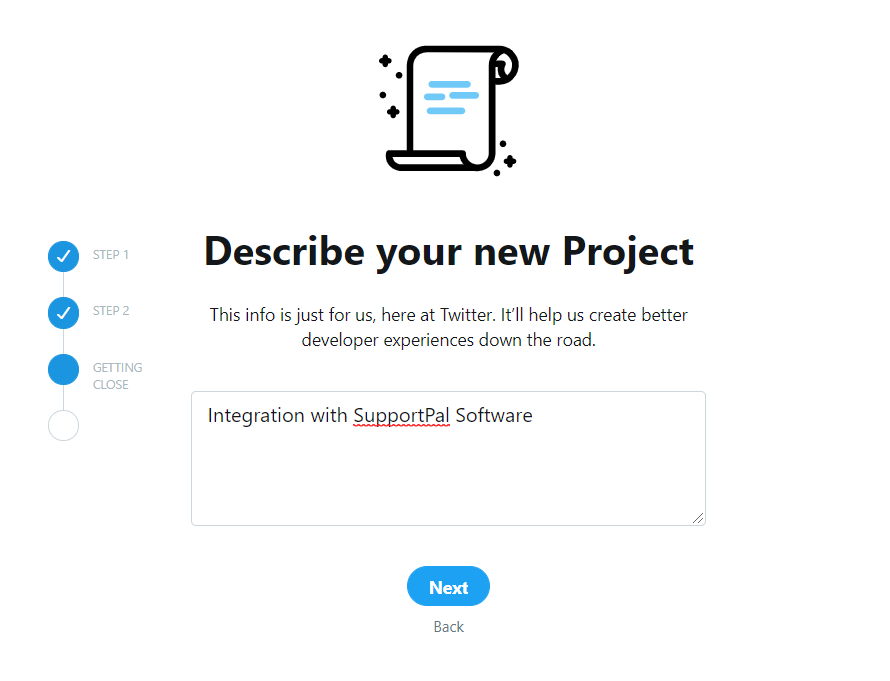
Enter a description for the project, and click "Next".
-
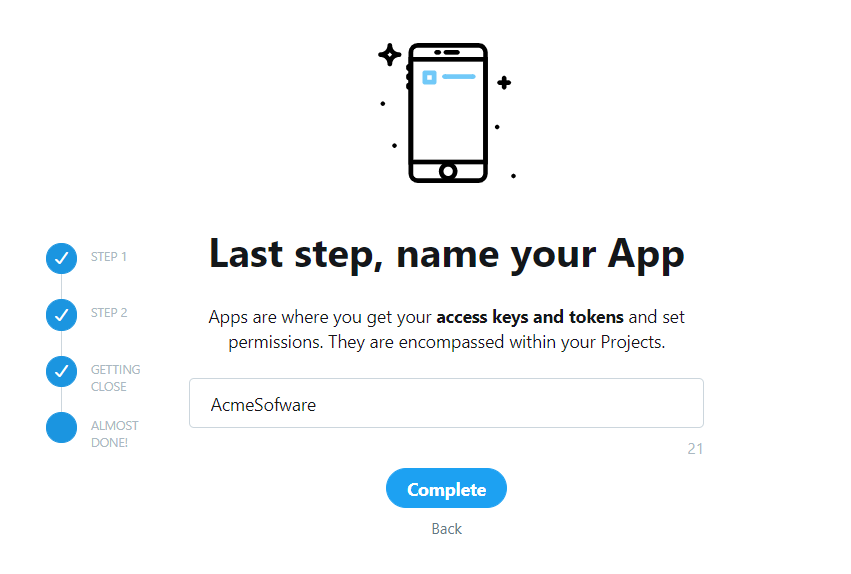
Enter a name for the app that will belong to the project, this must be unique, so it may be worth choosing a name that related to your organisation's name, and then click "Complete".
-
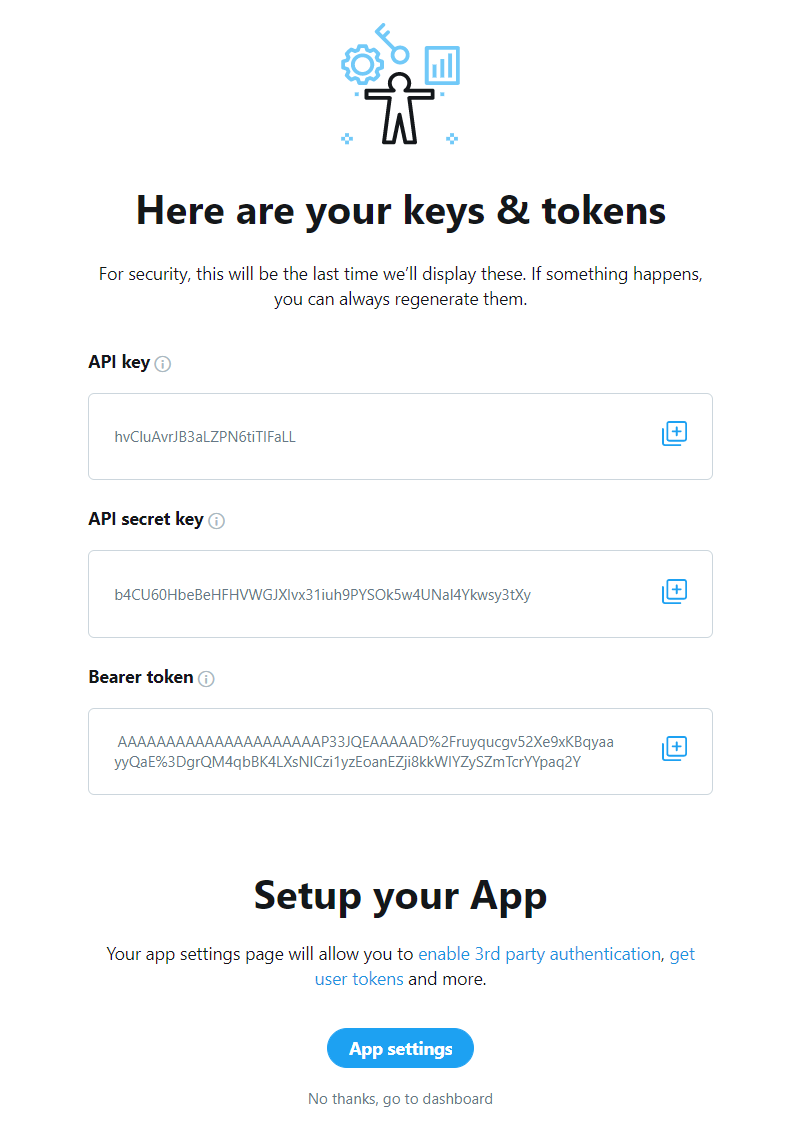
You will now see the API key and secret, these should be copied in to SupportPal. Copy these details somewhere safe.
-
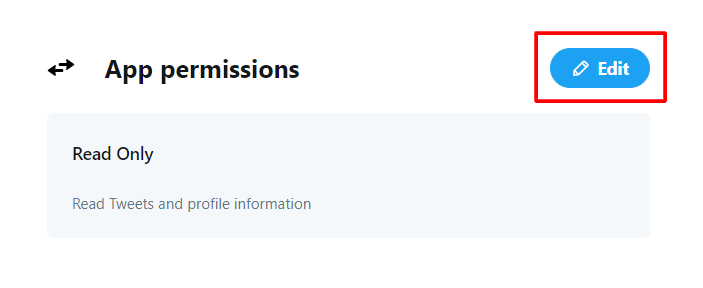
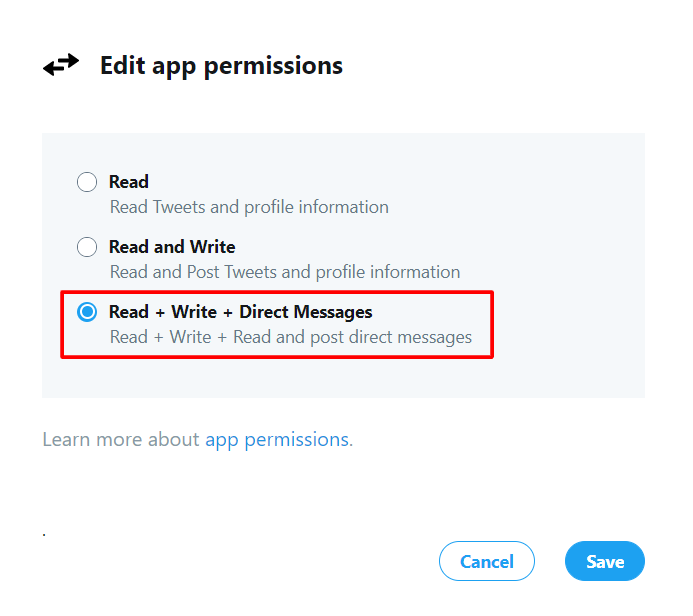
Go back to X and click on "App Settings" at the bottom. Scroll to App Permissions and click on "Edit".
-
Change the permissions to "Read + Write + Direct Messages" and click "Save". Confirm the popup that shows.
-
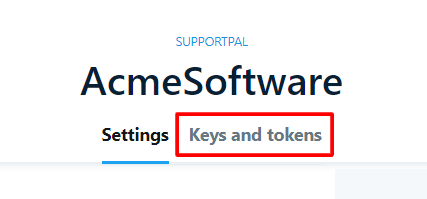
Next, click on "Key and tokens" at the top.
-
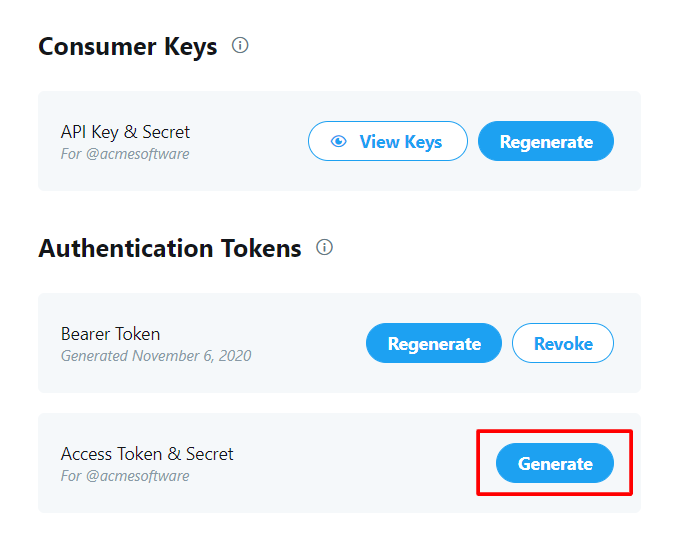
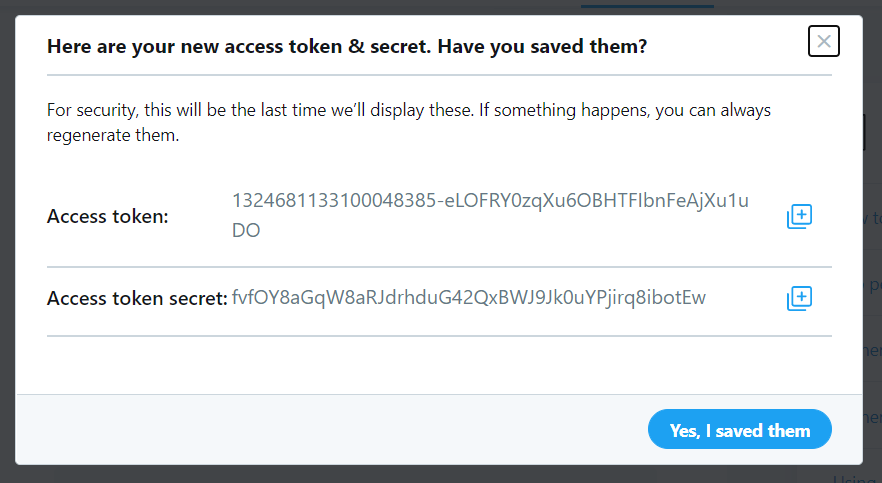
Click "Generate" next to Access Token & Secret. Copy these details somewhere safe.
Create or Update an Account
To create a new account, or update an existing one, please follow the following steps.
- Visit Settings -> Tickets -> Channels and click on the "Settings" link on the X channel row. If you're creating a new account click "Add Account", or if you're updating an existing account, search for it and click the edit (pencil) icon on the right side of the table row.
- Complete the input fields:
- X Handle - Your X account handle including the @ at the start, for example @supportpal.
- Active - If the account is active and should be included when polling for new tweets.
- API Key - The API key provided by the X application (See Setting up your X Account For Access).
- API Key Secret - The API key secret provided by the X application (See Setting up your X Account For Access).
- Access Token - The access token provided by the X application (See Setting up your X Account For Access).
- Access Token Secret - The access token secret provided by the X application (See Setting up your X Account For Access).
- Import New Tweets Only - Lets the ticket importing start from the current time to avoid pulling in tweets from the past. This option is only available for new accounts.
- Import Tweets - If it should convert tweets mentioning your X account into tickets.
- Import Direct Messages - If it should convert direct messages sent to your X account into tickets.
-
Default Department - Select the department in which messages sent to this account should be opened as tickets in.
Tip
We recommend to create a new department (e.g. Social Media). This allows you to create an abbreviated operator signature such as^KBso it doesn't take up too much of the 280 character tweet limit. - Default Priority - Select the priority with which tickets opened by this account are set as.
- Once all the details have been entered, click the "Validate Authentication" button.
- If it has successfully verified the details, you can click the "Submit" button to finish.
Delete an Account
To delete an account, follow the below steps:
- Visit Settings -> Tickets -> Channels and click on the "Settings" link on the X channel row.
- Search for the account you wish to delete.
- Click the delete (cross) icon located on the right of the table.
- Click on the left button, "Yes, I'm sure", that pops up confirming you would like to delete this account, and it will then be deleted.
Modifying the Polling Time
The active accounts are polled automatically by a scheduled task (See Scheduled Tasks). Edit the scheduled task to change the polling frequency, and you can manually run the task to verify it's working.