# Third-Party Integrations: X
Allow users to log in and sign up with their X (formerly Twitter) account, an option available under our [Social Login](Social+Login) integrations.
## Prerequisites
To set up X, you must have an X account with a mobile number set on it.
## Activate or Deactivate Integration
The X integration is disabled by default and needs to be activated before use.
1. Visit **Settings -> General -> Third-Party Integrations**.
2. Find the X integration and click the "Activate" link located on the left of the table.
3. The page will reload confirming the integration has been activated.
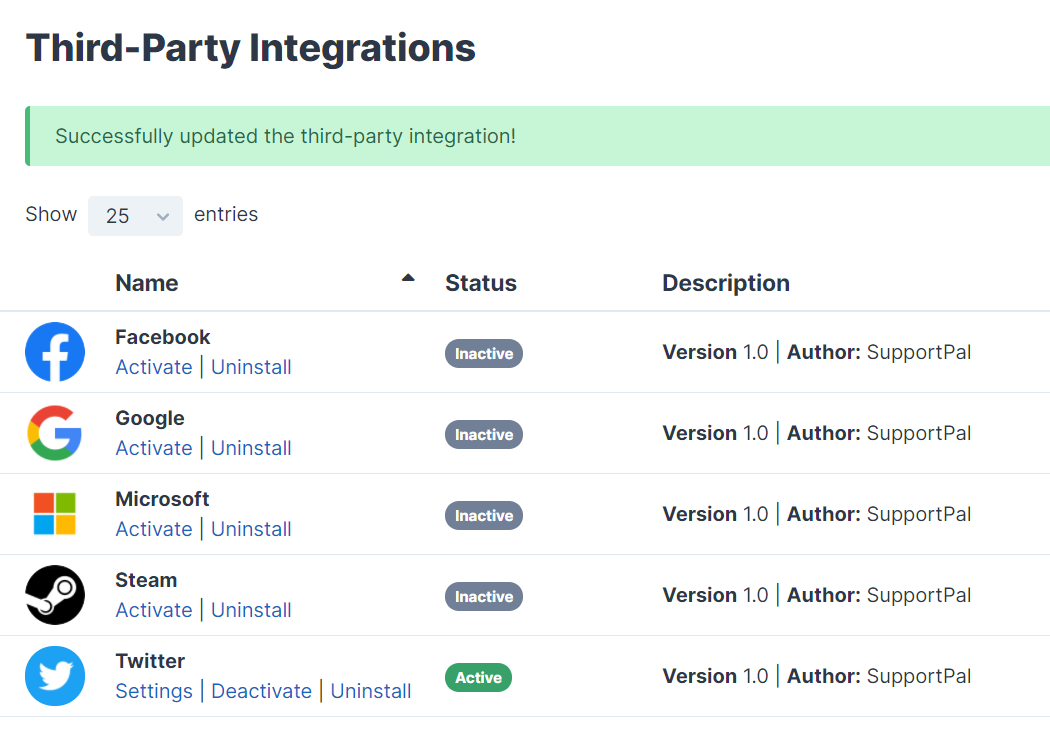
The integration can be deactivated by following the above process, but using the "Deactivate" link instead.
### Integration Settings
**X Developer Account Required**
If you don't already have an X developer account, you will need to apply before you're allowed to create an application. Please follow our [X Developer Application](Twitter+Developer+Application) guide to complete this process.
To set up the X integration, you will need to set up an X application, follow the steps below.
1. Visit the X Developer portal - - and sign in to your X account.
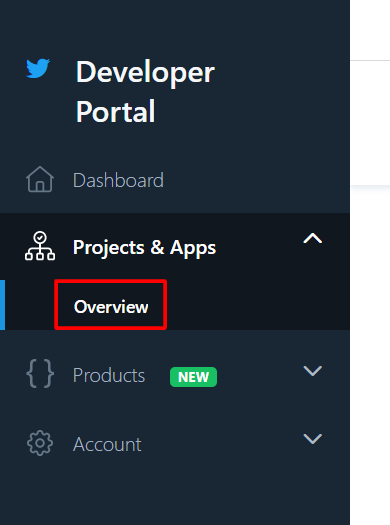
2. Click "Projects & Apps" in the sidebar and then "Overview".
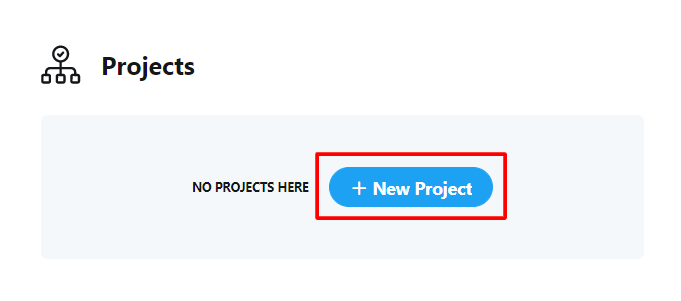
3. Click on "New Project".
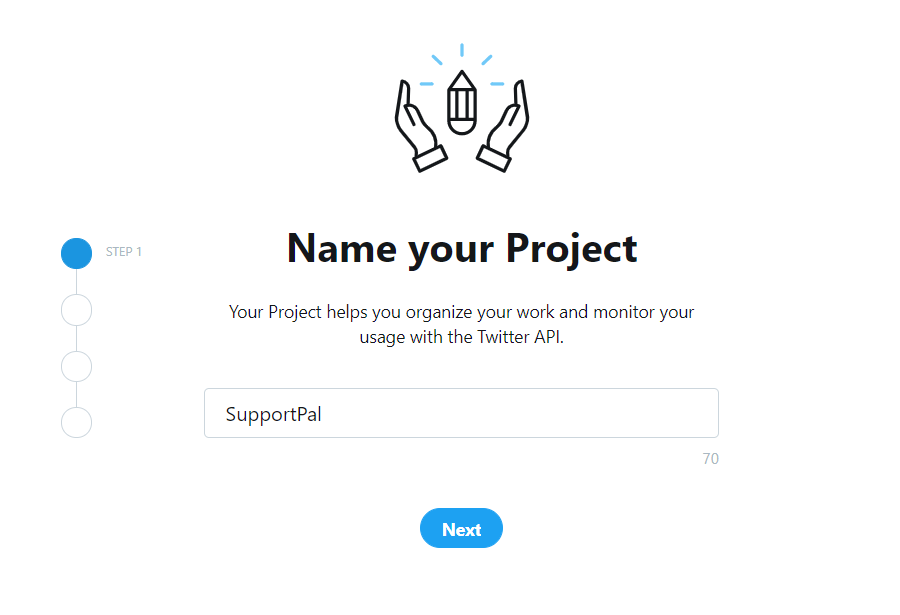
4. Give your project a name and click "Next".
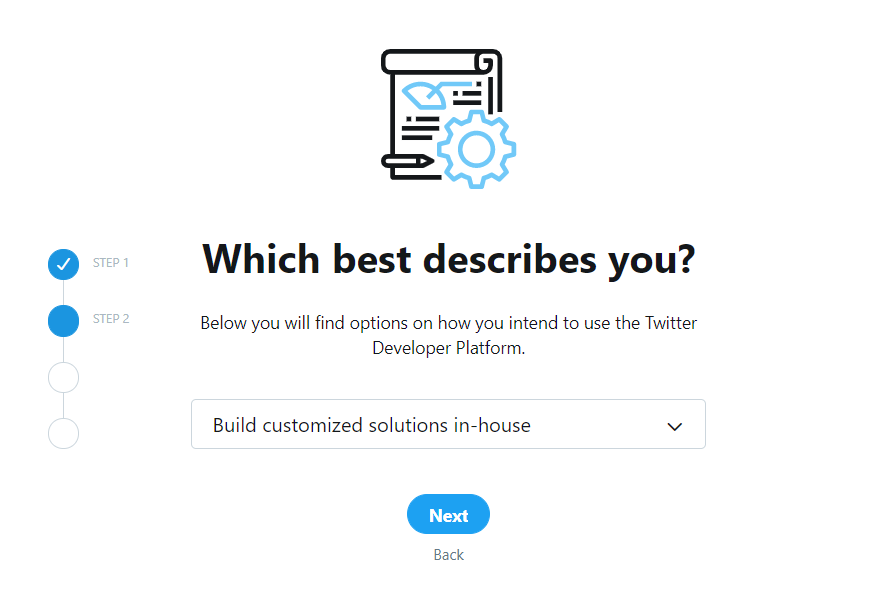
5. Select 'Build customized solutions in-house' for the use case of the project, and click "Next".
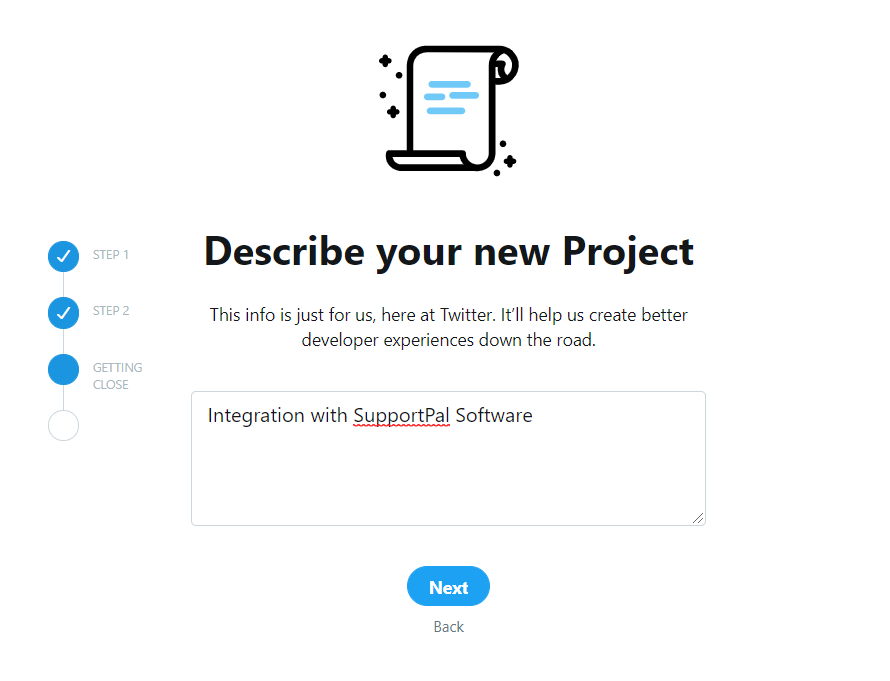
6. Enter a description for the project, and click "Next".
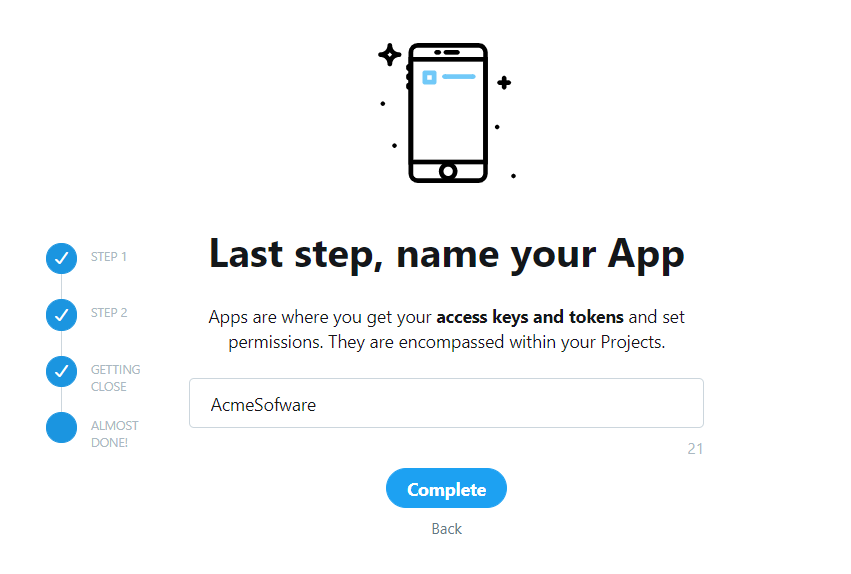
7. Enter a name for the app that will belong to the project, this must be unique, so it may be worth choosing a name that related to your organisation's name, and then click "Complete".
8. You will now see the API key and secret, these should be copied in to SupportPal.
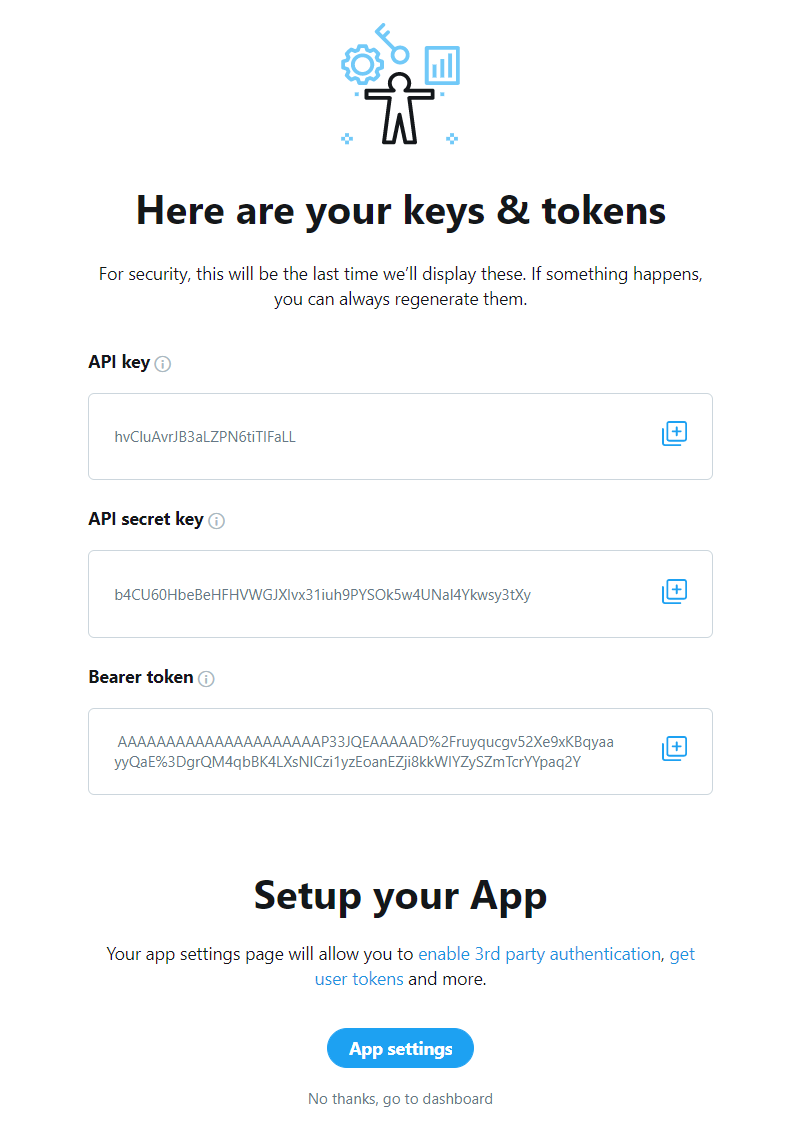
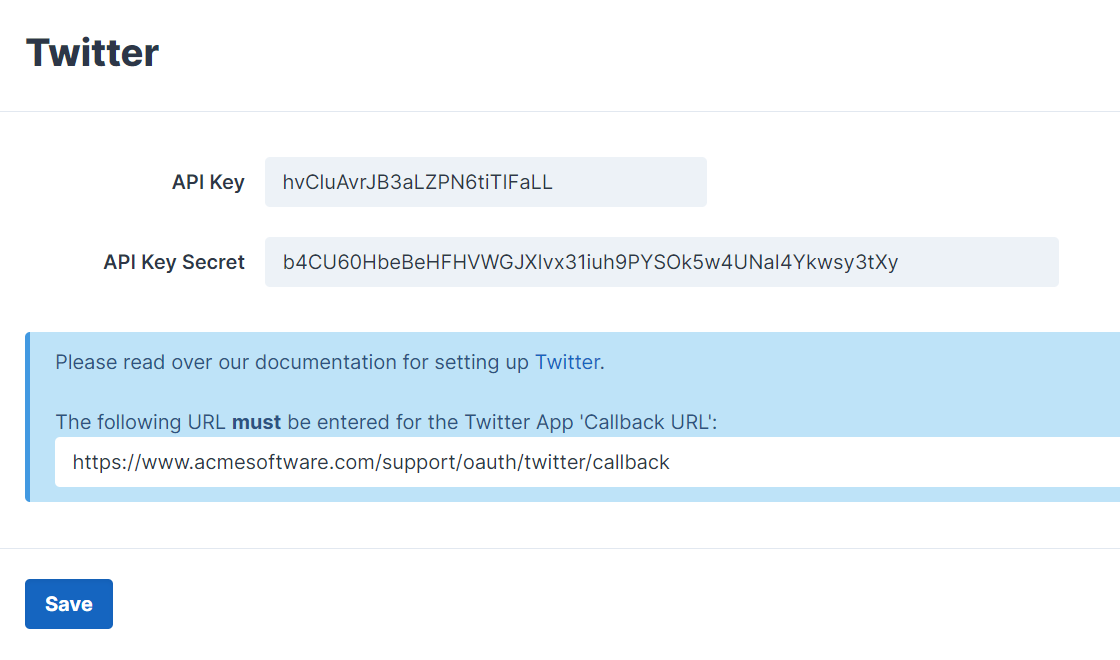
9. Click on "Settings" under X on the third-party integrations page, and enter the API key and API key secret. Click "Save".

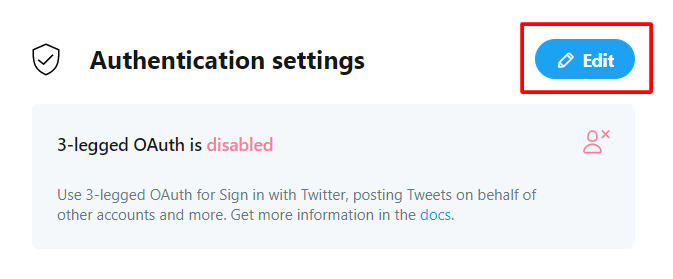
10. Go back to X and click on "App Settings" at the bottom. Scroll to Authentication Settings and click on "Edit".
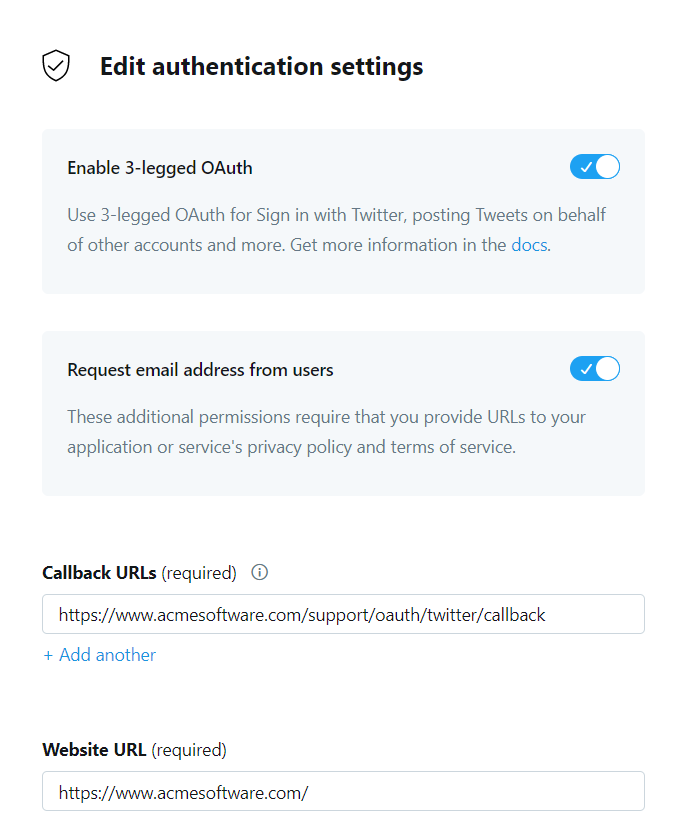
11. Toggle the "Enable 3-legged OAuth" and "Request email address from users" options and copy the callback URL from the SupportPal integration settings page. Enter the remaining required details and click "Save".
## Enabling X Social Login
To enable the X login option for your users, follow the steps below.
1. Go to **Settings** -> **Users** -> **Social Login**, and click "Manage" on the right of the X box. If the option is not there, please ensure you have completed the above set-up of the integration correctly.
2. Press the toggle to enable the social login. If you have multiple brands, you will have the option to enable or disable for each brand.
3. Press "Submit".
It should now be successfully configured, we recommend to try the login as a test user to verify it works.
## Troubleshooting
### Add Mobile Phone
Your X account must have a mobile phone set on it to be able to create applications. Please set up a mobile phone and then try to create the application again.