You're browsing the documentation for an old version of SupportPal. Consider upgrading to the [latest version](https://docs.supportpal.com/current/Third+Party+Integrations+Pusher).
# Third-Party Integrations: Pusher
Use a Pusher protocol compatible service to receive real-time updates via web sockets.
## Activate or Deactivate Integration
The Pusher integration is disabled by default and needs to be activated before use.
1. Visit **Settings -> General -> Third-Party Integrations**.
2. Find the Pusher integration and click the "Activate" link located on the left of the table.
3. The page will reload confirming the integration has been activated.
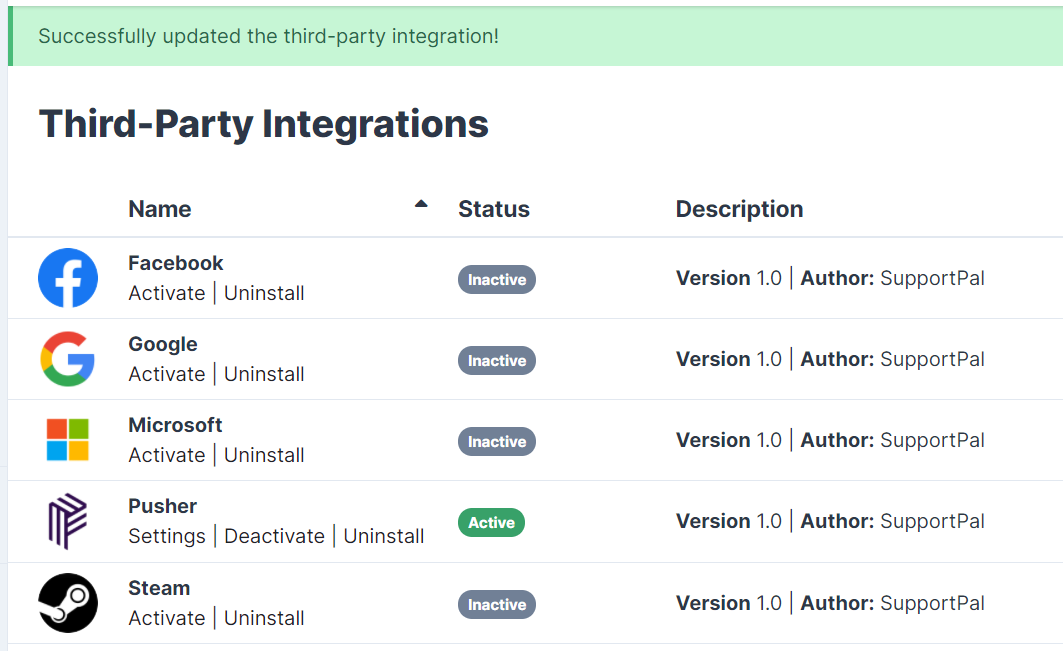
The integration can be deactivated by following the above process, but using the "Deactivate" link instead.
### Integration Settings
Jump ahead to get started using your chosen service:
- [Pusher.com](#UsingPusher) *(may incur charges depending on usage)*
- [Docker](#UsingDocker) *(requires SupportPal to be deployed via Docker)*
- [Linux](#UsingLinux)
#### Using Pusher.com
1. Create a **free** [Pusher account](https://dashboard.pusher.com/accounts/sign_up) if you don't already have one.
2. Sign in to your [Pusher account](https://dashboard.pusher.com/accounts/sign_in).
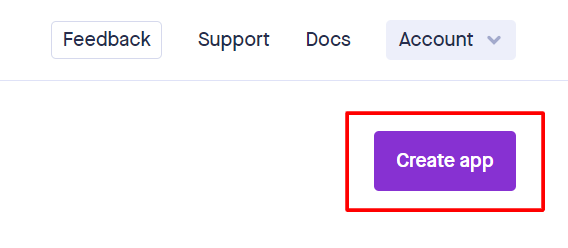
3. Click 'Create App' in the top right.
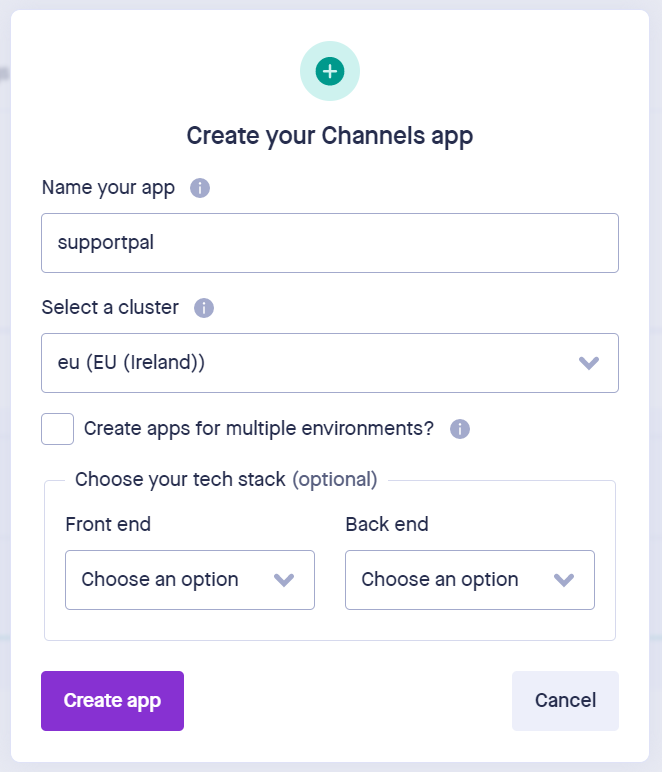
4. Enter a name for the app and choose a cluster, keep the other fields unfilled.
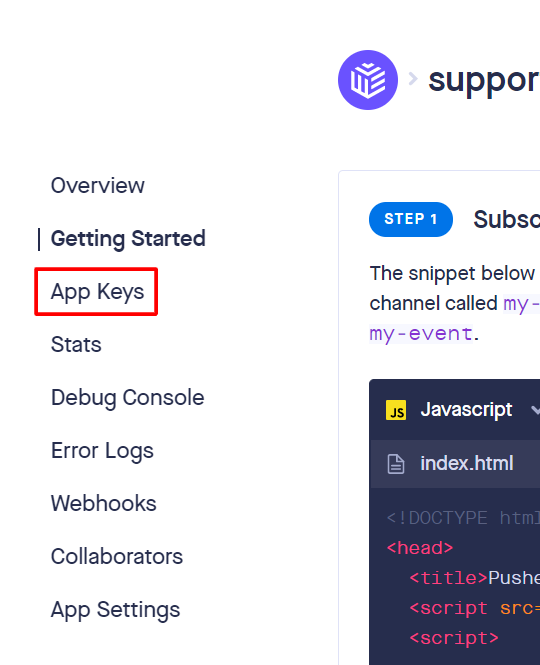
5. Once the app has created, click on the 'App Keys' option on the left.
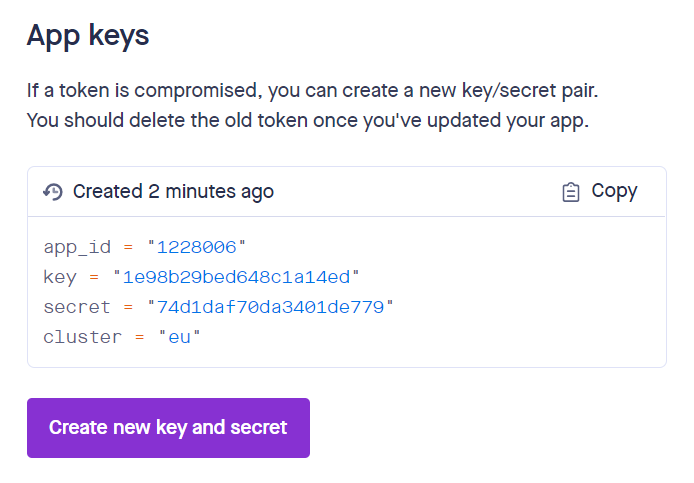
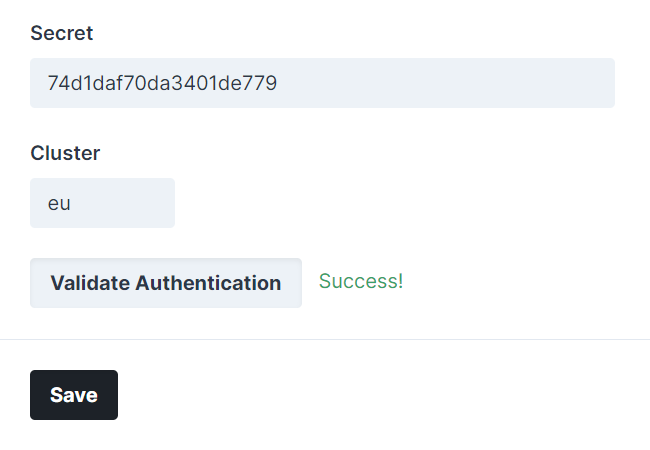
6. In SupportPal, click 'Settings' under Pusher, enter the values as shown and click 'Validate Authentication'. If successful, then hit 'Save'.

#### Using Docker
Our Docker deployments come with a ready to use web socket server, no additional configuration is required.
#### Using Linux
SupportPal includes a built-in web socket server. By default, it will listen on port `6001` so please ensure that port allows public traffic.
1. Install [supervisord](http://supervisord.org/): **Debian / Ubuntu**
```
sudo apt install supervisor
```
**Red Hat / CentOS**
```
sudo yum install supervisor
sudo systemctl enable supervisord
sudo systemctl start supervisord
```
2. Add a new supervisord config file: **Debian / Ubuntu**
```
/etc/supervisor/conf.d/websockets.conf
```
**Red Hat / CentOS**
```
/etc/supervisord.d/websockets.ini
```
Replace the command paths and user directives to match your installation. Using a different user to the rest of your helpdesk will result in issues.
**Debian / Ubuntu**
```
[program:websockets]
command=php /var/www/supportpal/artisan ws:serve
numprocs=1
autostart=true
autorestart=true
user=www-data
```
**Red Hat / CentOS**
```
[program:websockets]
command=php /var/www/supportpal/artisan ws:serve
numprocs=1
autostart=true
autorestart=true
user=apache
```
This configuration ensures the server is automatically started on system boot and also automatically restarted if it crashes.
3. Optionally configure an SSL certificate by creating `config/production/websockets.php` within root of your SupportPal installation. You can use any of PHP's built-in [ SSL context options](https://www.php.net/manual/en/context.ssl.php), a subset of these is demonstrated below. ```
[
'local_cert' => '/absolute/path/cert.pem',
'local_pk' => '/absolute/path/key.pem',
],
];
```
4. Update and start the server. ```
sudo supervisorctl update
```
5. Click 'Settings' under Pusher, scroll down and hit 'Validate Authentication' to verify everything is working as intended.
## Troubleshooting
### Unable to receive real-time updates. Please check your internet connection.

If you see a banner showing "Unable to receive real-time updates. Please check your internet connection." on pages after fully configuring Pusher, it indicates there is an issue with the Pusher connection. If you do not have any issues with your internet connection, check the console in your browser's developer tools where any specific errors thrown by Pusher are logged.
We also recommend to re-validate the authentication details in the integration settings to confirm it is still valid.